


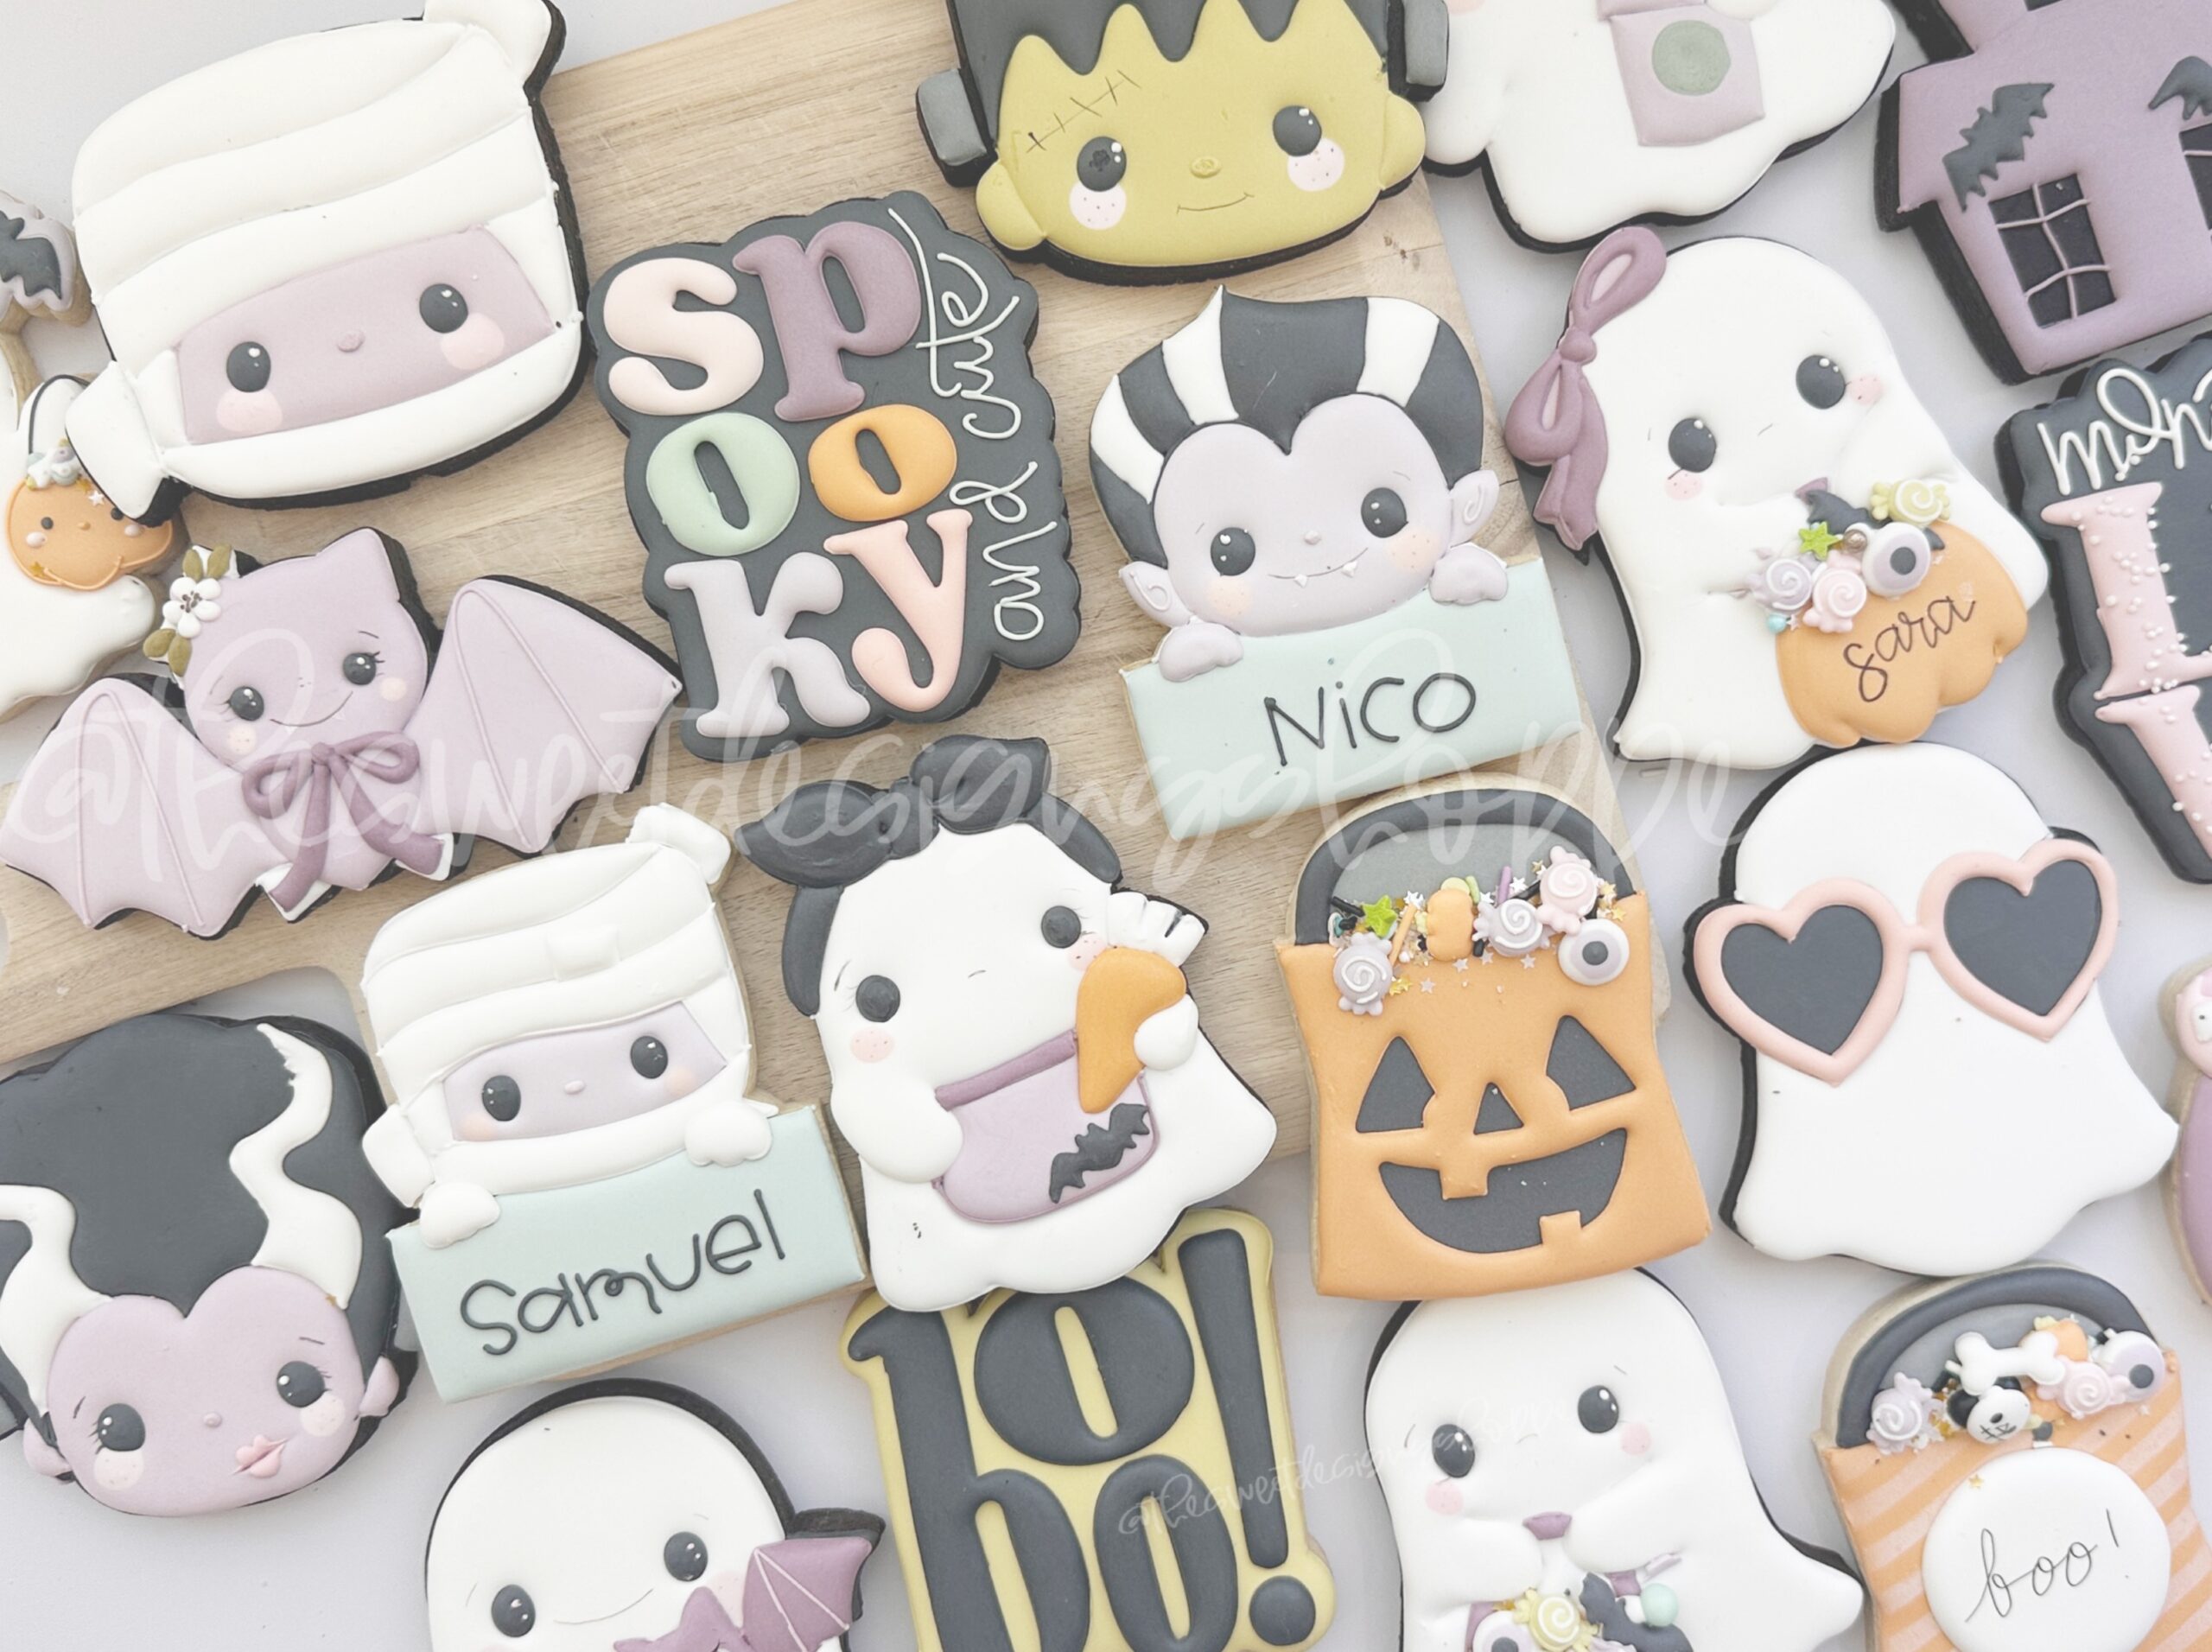


Your First Steps in Cookie Decorating
Cookie decorating with royal icing is beautiful, creative, and… honestly? It can feel overwhelming when you’re just starting. If you’ve ever looked at intricate, hand-piped sugar cookies and thought, “I could never do that,” you’re not alone. The world of royal icing is deep and detailed—there are different consistencies, tools, and techniques that professionals spend years mastering.
But this guide isn’t for the pros—it’s for beginners—true beginners. If you just want to dip your toes into cookie decorating—maybe make a few fun cookies for the holidays without buying an entire set of supplies—then this is the perfect place to start.
No fancy tools, no complicated techniques—just a simple way to get started without feeling lost. I’ll show you how to make royal icing, adjust it for basic decorating, and use just a handful of supplies to decorate your first cookies. That’s it!
If you fall in love with it, you can always level up later. But for now, let’s keep it simple, fun, and stress-free.
Step 1: Royal Icing – The Only Recipe You Need
To decorate sugar cookies, you need royal icing, which is smooth, dries beautifully, and can be customized in many ways. You’ll find our beginner-friendly royal icing recipe, but the key is getting the right consistency—that’s what makes decorating easier!
Step 2: Mastering Consistency (The Key to Decorating Success)
Royal icing consistency can feel confusing at first, but for beginners, you only need to focus on two consistencies:
- Outline Consistency
Outline consistency icing is slightly thick, and it’s used to create a clean border around your cookie. This acts as a barrier, keeping your flood icing contained.
- To achieve this consistency:
- Start with a portion of icing from your mixer—I usually take about ½ cup, enough to outline and flood 8-10 regular-sized cookies.
- Add a few drops of water at a time, mixing as you go.
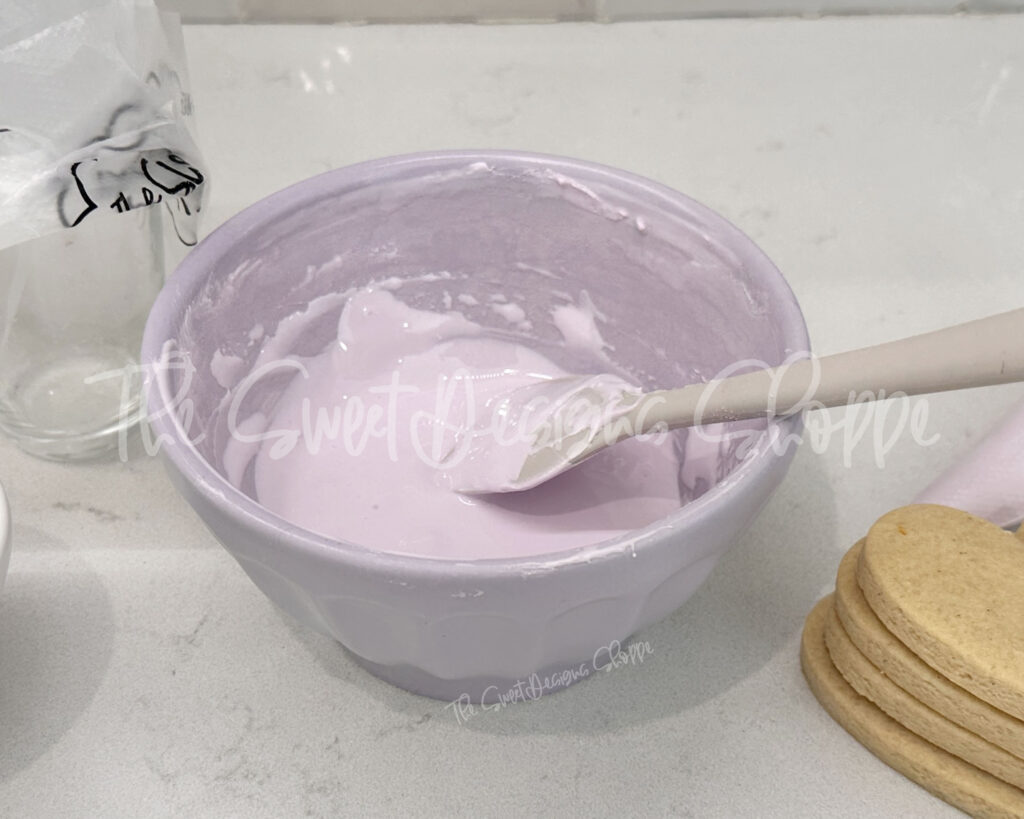
- This is the best time to add your food coloring—mixing it while the icing is thick ensures an even shade. Colors deepen as the icing dries, so keep that in mind!
- Scoop out a small portion to use for outlining, then leave the rest in the bowl to thin further for flooding. This prevents over-thinning and keeps your colors uniform.
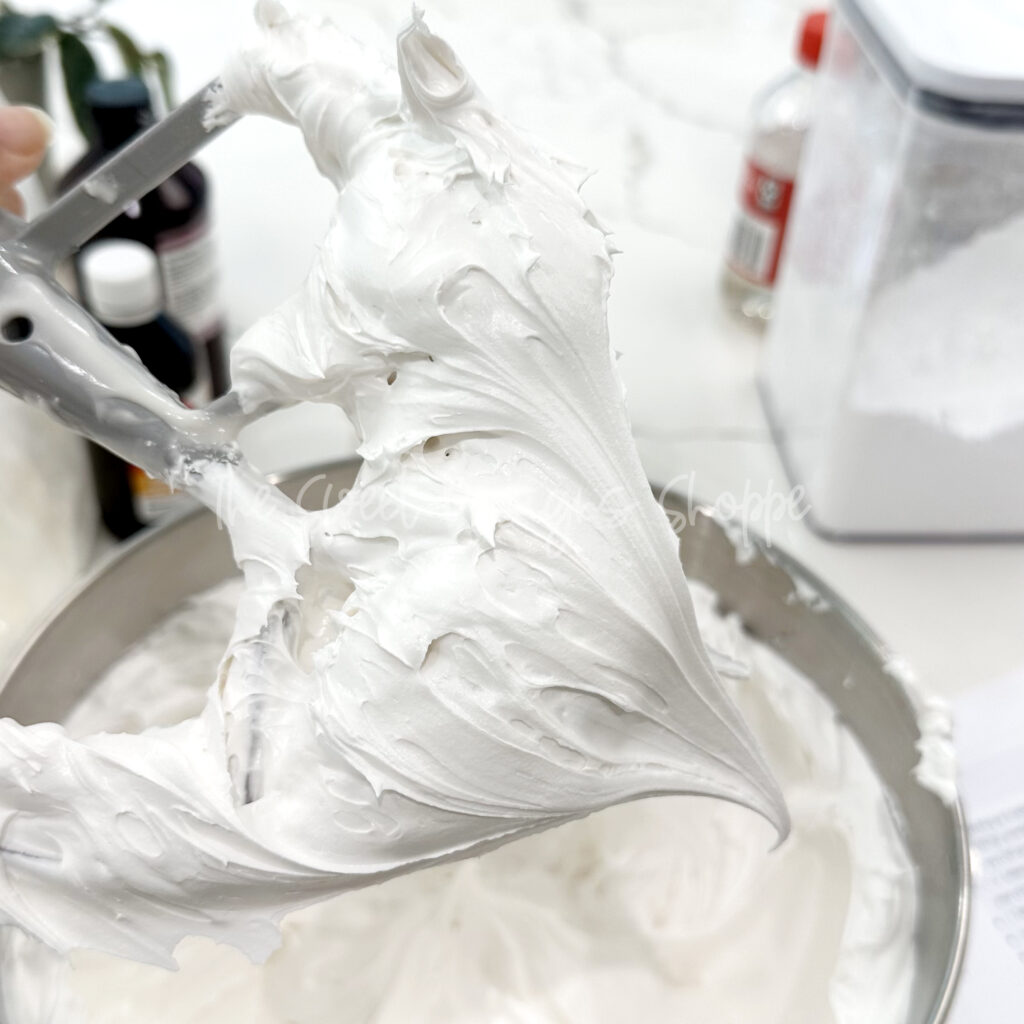
- How do you know it’s ready?
- When you lift a spoon, the icing should form a peak that folds over itself but does not fully dissolve back in.
- It should hold its shape but still have a slight flow.
- Think of toothpaste—thick enough to hold its form, but smooth enough to pipe neatly.
By mastering this consistency, you’ll create crisp outlines that keep your designs clean and polished!
- Thin Flood Consistency: The Secret to a Smooth Finish
Thin flood consistency is used to fill the outlined cookie, creating a smooth, even surface. This icing is thinner than the outline consistency, allowing it to spread and settle on its own.
- To achieve this consistency:
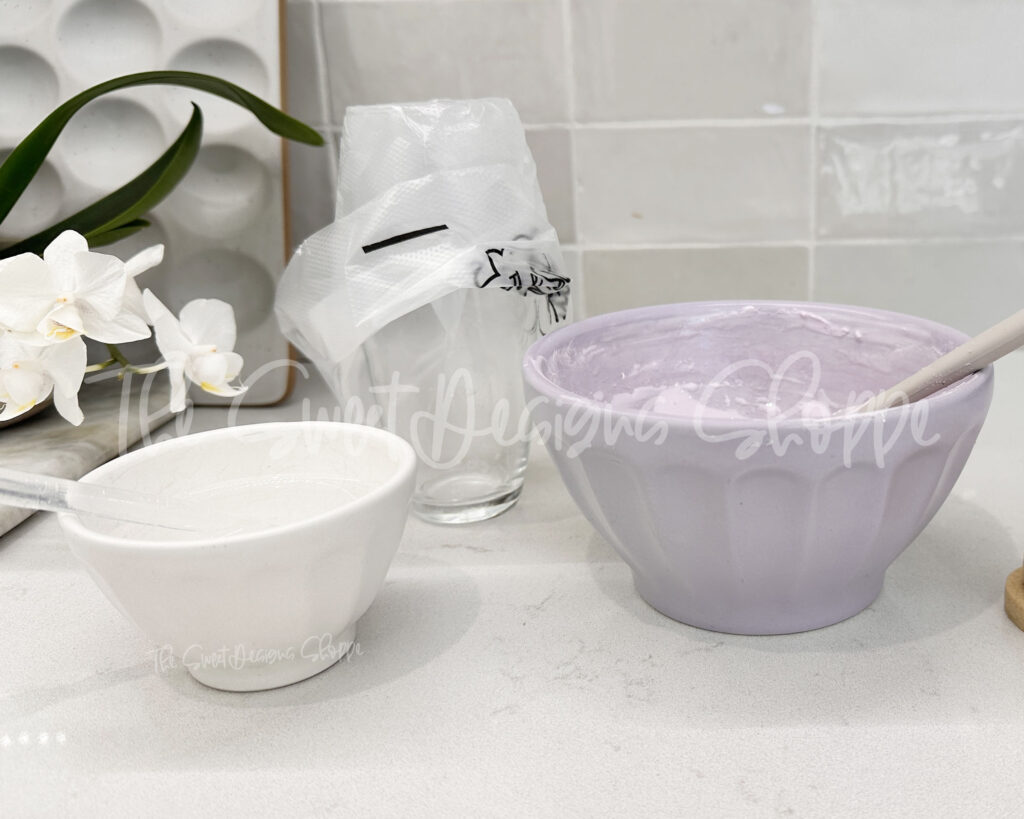
- Start with the remaining outline consistency icing in your bowl. So the color matches your outline consistency.
- Add a few drops of water at a time, mixing after each addition. Be patient—a little water goes a long way!
- Continue thinning until the icing flows easily off a spoon and smooths itself out within 10-15 seconds. The icing should smooth out without tapping or moving your bowl.
- If needed, do a quick test: drizzle some icing back into the bowl and watch how long it takes to disappear.
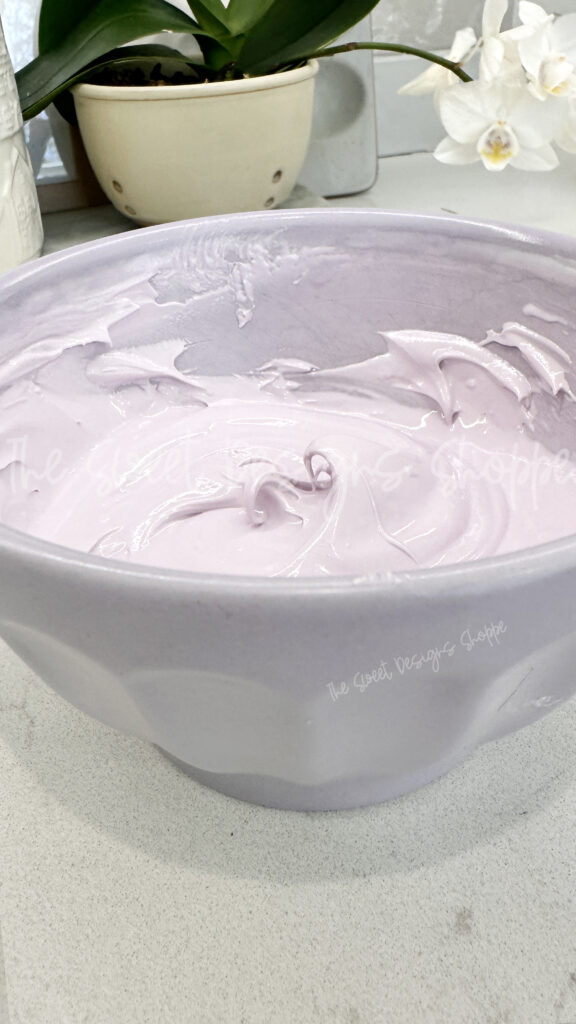
- How do you know it’s ready?
- When you lift a spatula, the icing should flow in a continuous ribbon and settle back into itself within 10-15 seconds.
- It should be fluid but not watery—thick enough to hold a slight shape before smoothing out.
- Think of honey or shampoo—it moves smoothly but isn’t runny like water.
This is the icing you’ll use to flood your cookies, giving them a professional, polished look!


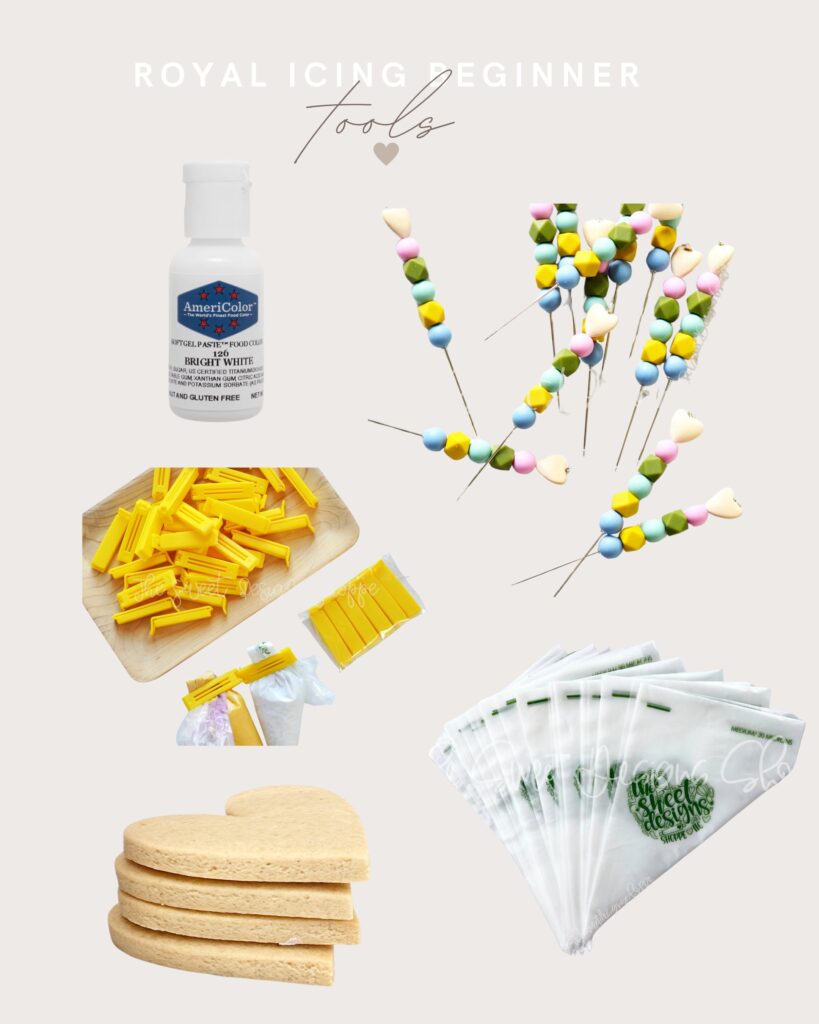
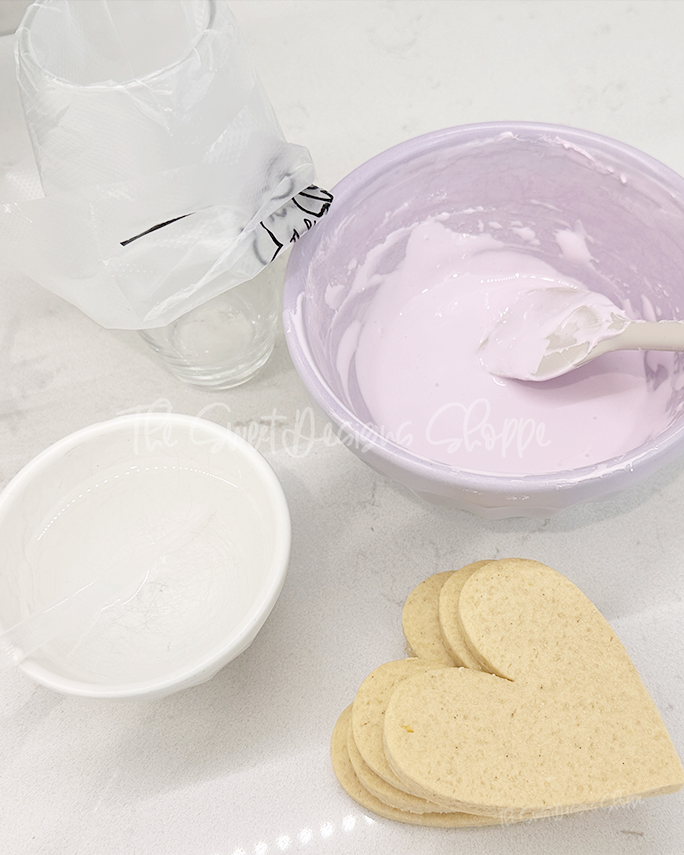
Step 3: Basic Tools – What You Need to Get Started
You don’t need a kitchen full of tools to start decorating! Here’s a simple list to begin:
- Tipless Bags – These hold your icing for decorating.
- 30 microns: outlining
- 40 microns: flooding
- Personal preference
- Cookie Scribe or Toothpick – Helps smooth out icing and fix small mistakes.
- Gel Food Colors – To add color to your icing without changing its consistency.
- A Few Piping Clips or Rubber Bands – Keep icing from spilling out of bags.
- Sugar Cookies – Any shape you love! Here is my lemon almond recipe.
Everything else (like specialty tips, airbrushes, or stencils) can come later!
Step 4: Your First Cookie Design – How to Outline and Flood Cookies
Try decorating a simple cookie like a heart cookie with this cookie cutter.
Decorating cookies with royal icing is all about two simple steps: outlining and flooding. Here’s how to do both so your cookies look smooth and professional!
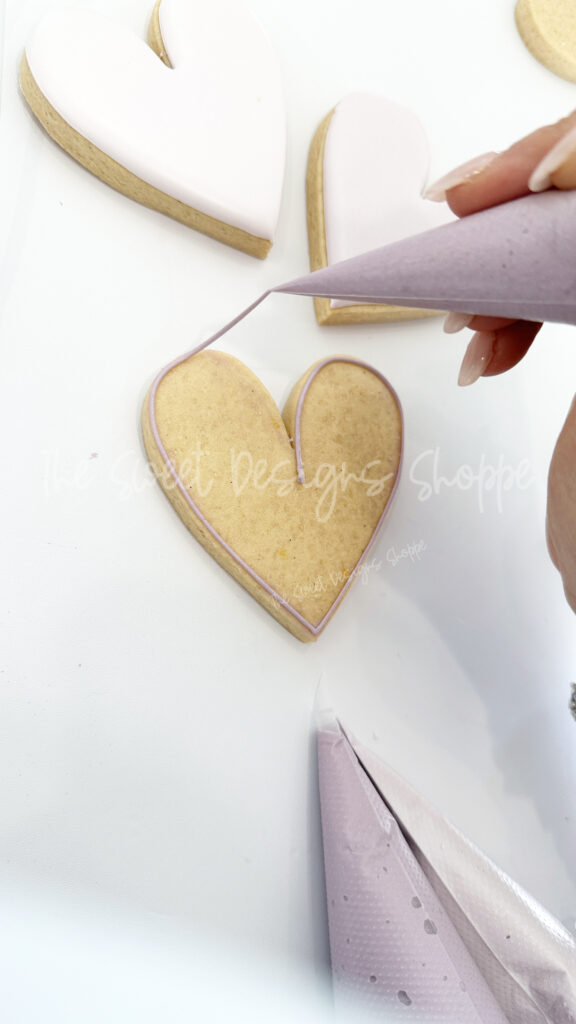
- Outline the Cookie
- What It Does: Creates a barrier to keep the flood icing in place.
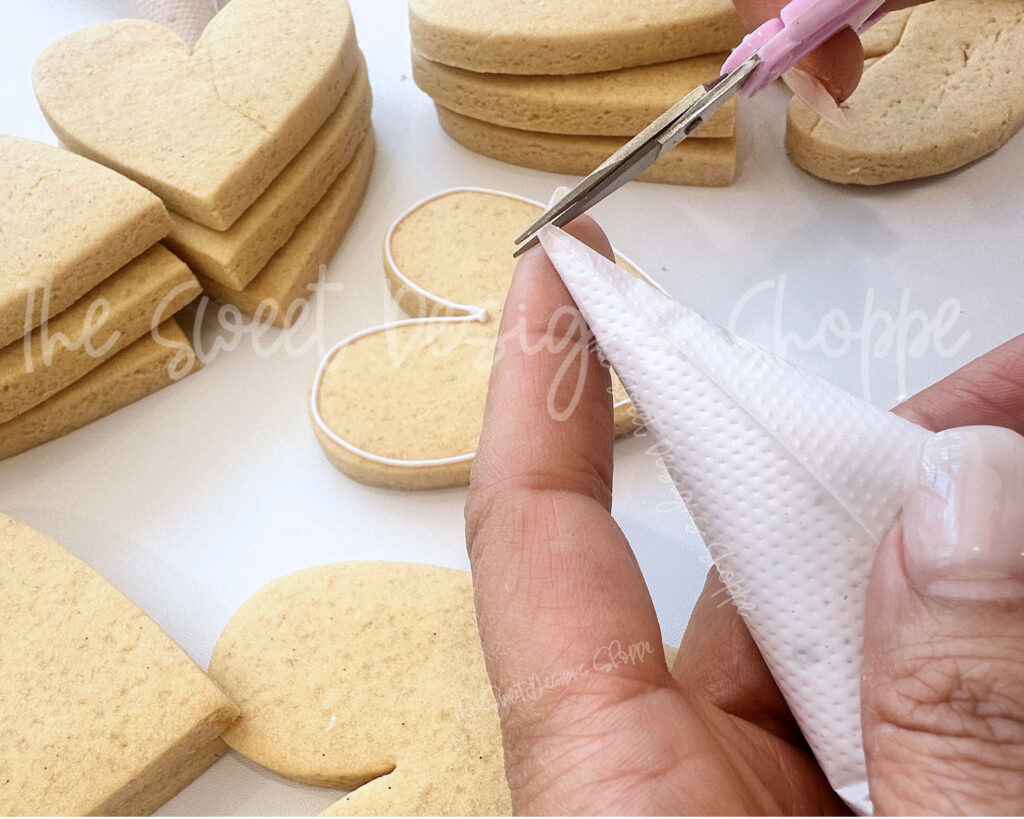
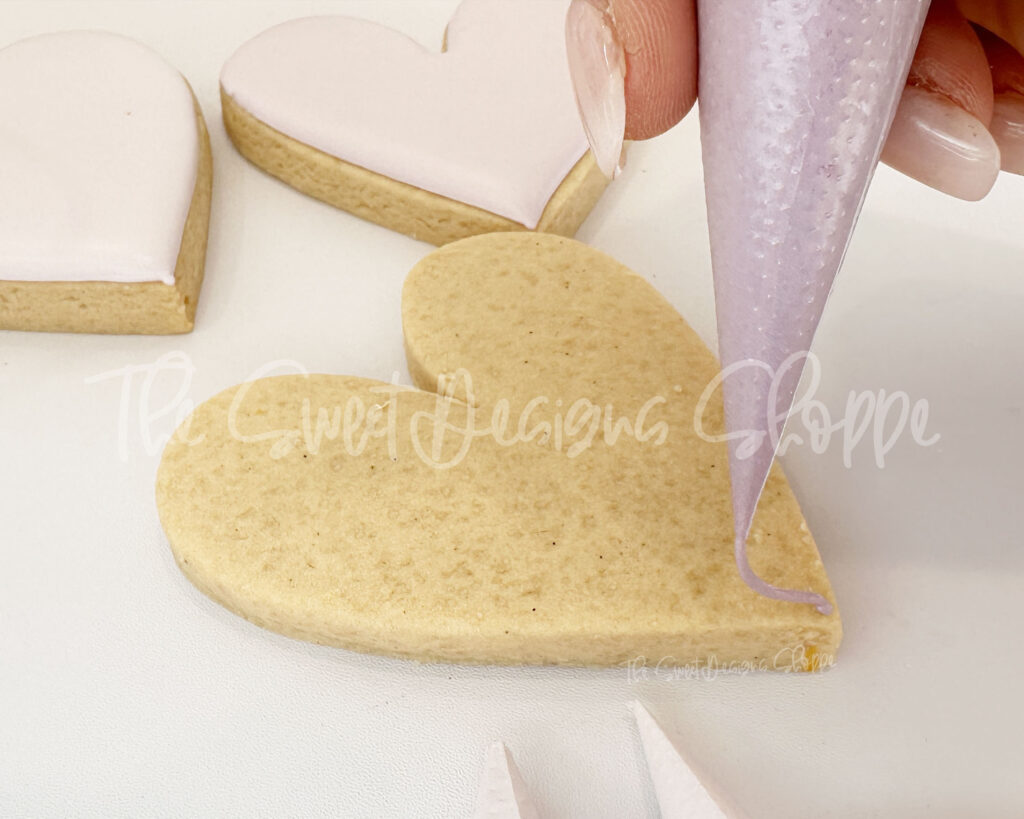
- Fill a piping bag with outline consistency icing. (Pic. 1)
- Cut a small tip. It’s always better to go smaller. I would say start with 1/16″, and if it feels too small, cut more. (Pic. 2)
- What It Does: Creates a barrier to keep the flood icing in place.
-
-
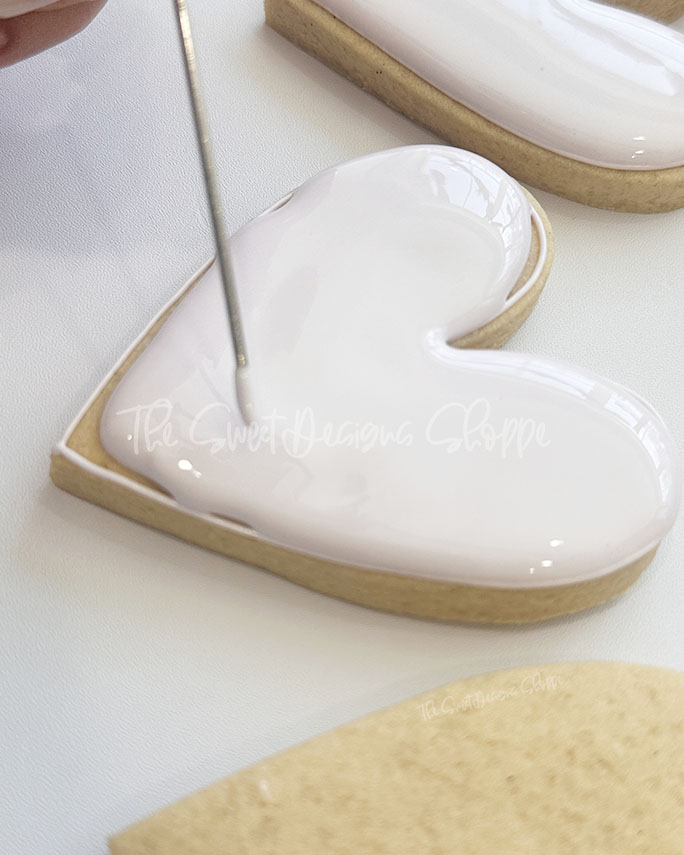
- Hold the tip of the piping bag at the start of the outlined line you want to trace. Apply gentle pressure until a bit of icing begins to flow out. Once the icing starts coming out, lift the piping bag away from the cookie and apply even, constant pressure. (Pic. 3)
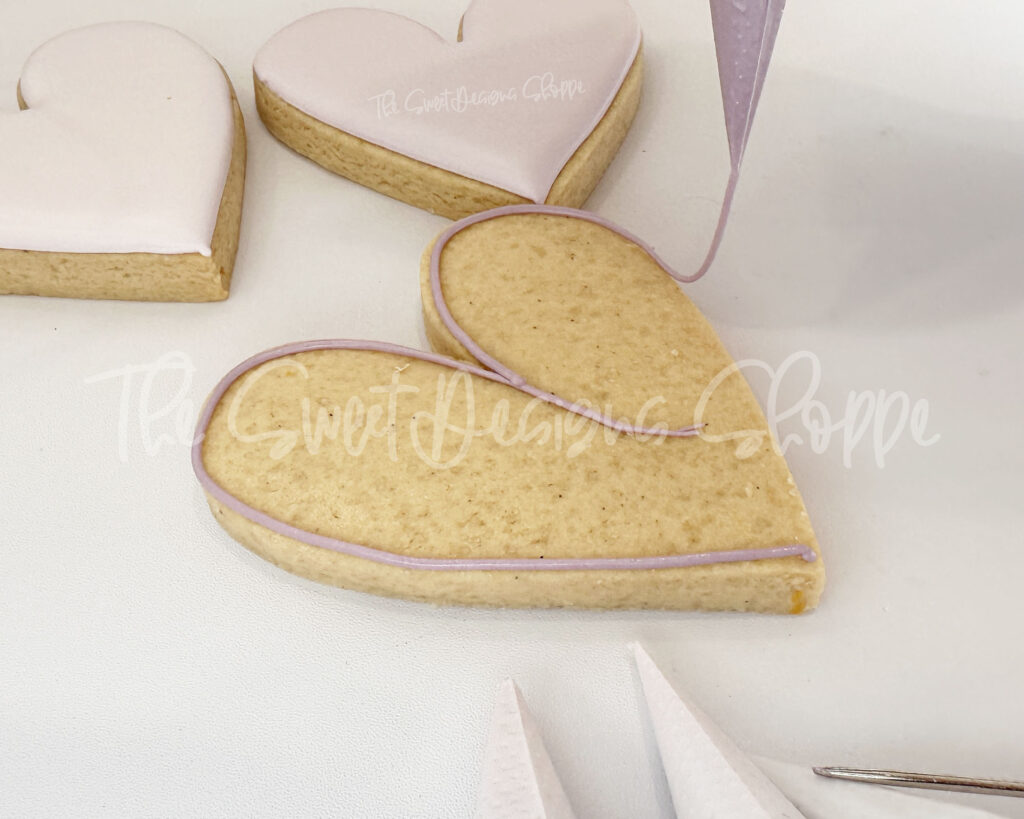
- As you near the end of the outline, release the pressure on the bag and lower the tip so that it touches the starting point of the line where you began outlining. (Pic. 4)
- Move smoothly and steadily—try not to drag the tip directly on the cookie, as letting the icing fall into place creates a cleaner line.
- Let the outline set for a minute or two before flooding.
-
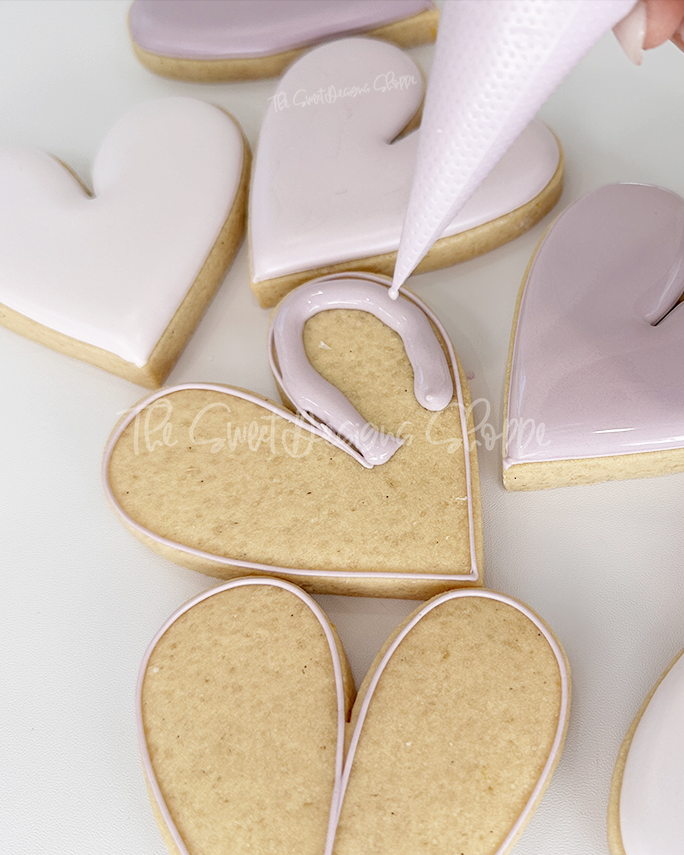
- Flood the Cookie
- What It Does: Fills the outlined space to create a smooth surface.
- Use the remaining outline icing and thin it to flood consistency (like honey).
- Fill a piping bag and cut a slightly larger tip to allow the icing to flow easily.
- Start filling inside the outline, squeezing gently to spread the icing. Slightly touch the icing to spread it and pop bubbles at the same time.
- Use a cookie scribe or toothpick to help the icing reach all edges and smooth out any bubbles.
- Let the cookie dry completely before adding details. (This can take a few hours or overnight.)
- What It Does: Fills the outlined space to create a smooth surface.
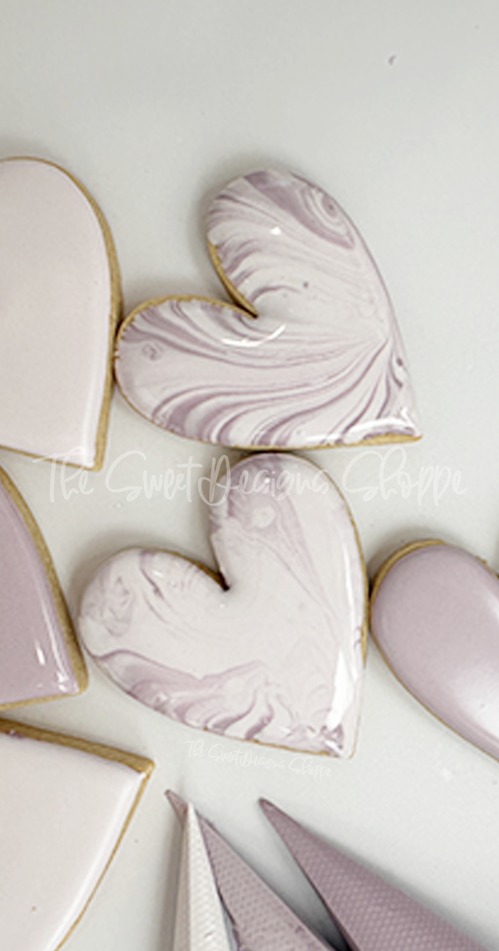
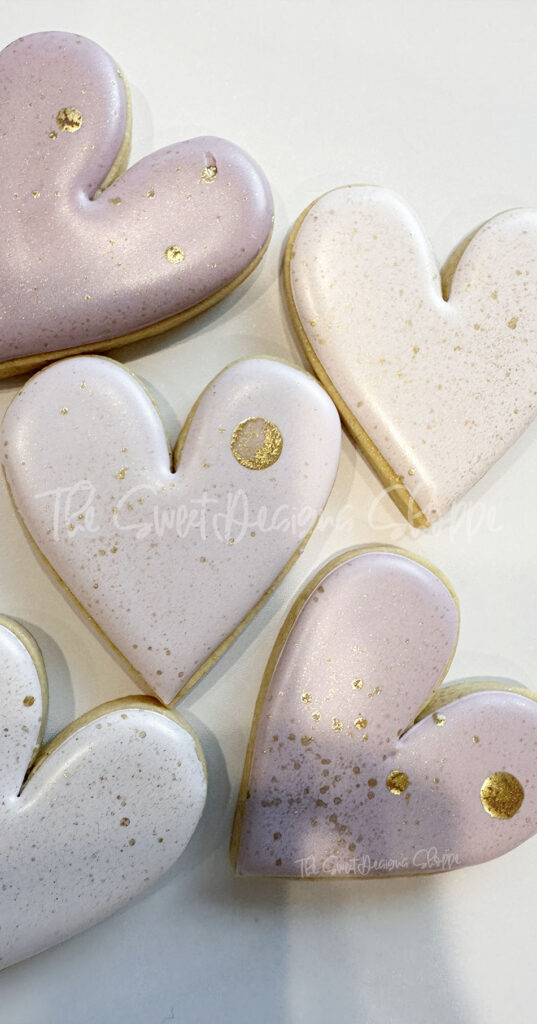
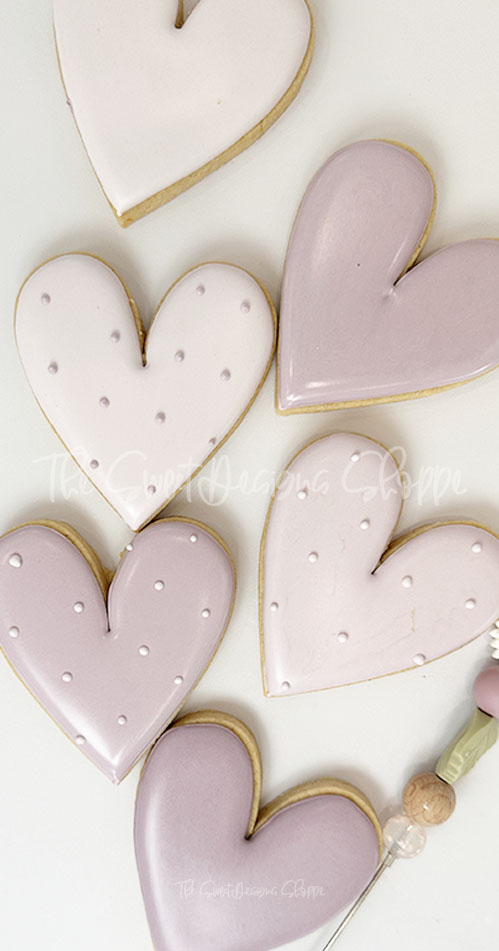
Start with solid-colored cookies, then experiment with easy techniques like marbling, splatter effects, or polka dots.
Start Small & Build Your Skills
This is just the beginning! If you enjoy decorating with royal icing, we’ll share seasonal beginner-friendly projects—simple designs for every holiday—so you can practice without feeling overwhelmed.
Ready for a bigger dive into royal icing? We have a complete royal icing guide to help you continue your journey into royal icing! Tag us on social media when you decorate your first cookies! We’d love to see your creations.
I can honestly say your recipe is the best RI I have made and the only recipe I now use. Trust me, I’ve tried at least 10 different recipes from various experts.
I’m so happy to hear that you like it!!!