Hi, I'm Judit
I'm Judit, owner, and designer at The Sweet Designs Shoppe. Welcome to my blog, where you will find a permanent home for everything cookie decorating. From recipes to tips, color palettes, and packaging ideas to shopping, packaging, and must-haves. I cannot wait to share my knowledge with you.
Newsletter
Search your topic
TOP 4 POSTS
Hey! Let's be Cookie Friends! Let me simplify your cookie decorating journey right to your inbox. Recipes, tips, tricks, color palette ideas, new trends and products for cookiers, and packaging ideas. You in?
Royal Icing Recipe
I’m so excited to share my Royal Icing recipe with you! But before I get to my recipe, let me tell you a few things I’ve learned along the way that I wish I’d known 10 years ago when I made my first batch of Royal Icing (RI).
Royal icing is like a moody teenager. It’s unpredictable and acts in ways that sometimes are hard to understand. Now, I’m not telling you this to discourage you; on the contrary, I’m telling you this because sometimes things don’t turn out perfectly. It happens to everyone regardless of skill level, so don’t give up! Thankfully, you don’t need a perfect Royal Icing to create the perfect cookies. Below are some tips that might help you better understand and avoid rookie mistakes.
Oils on your RI are a NO. Ensure your bowl and utensils are washed thoroughly with hot water and a good dish soap. When in doubt, you can wipe things down with lemon juice or white vinegar to ensure they are grease-free. This applies to flavors, too. Read the ingredients and ensure they do not contain any oil. If your RI never dries completely and feels tacky to the touch, oil might be the culprit.
A humid environment isn’t ideal for working with RI. So, if you live in a highly humid area and want to take your cookie journey to the next level, you might want to consider investing in a dehumidifier. You can still make beautifully decorated cookies, but they might take longer to dry, or you might find that you get a few more craters on your icing. I like working in an environment with 35-45% humidity. If you like, purchase a humidity meter or gauge and leave the guesswork out.
Using a dehydrator is a great option to help dry your decorated cookies. I know dehydrators are an investment, and it’s okay to not be ready to purchase one. So, a fan can be another great option to help dry your decorated cookies. The fan doesn’t work as well as a dehydrator, but it’s still a good option.
And last but not least, “all roads lead to Rome.” Different recipes, ingredients, mixing times, flavors, or techniques can achieve great results. This is what works for me, but something different works great for someone else. Also, don’t compare yourself to others. Your cookies will turn out great. Royal Icing is great to work with; it really doesn’t need to be perfect.
Before jumping into the recipe, some words will make your Royal Icing journey a little easier, and if I’m being honest, I would have loved to know before making my first batch of Royal Icing.
- Royal Icing: It’s the most commonly used icing for sugar cookie decorating and has a smooth and hard texture when it dries. Royal Icing makes it perfect for creating intricate designs. Plus, you can add your touch of creativity by coloring and flavoring the icing to your liking. Whether you’re a beginner or an experienced decorator, royal icing is a great choice to give your cookies a professional and polished look.
- Icing Sugar/Powdered Sugar/Confectioners’ Sugar: Finely ground sugar, a key ingredient in Royal Icing. Not only does it dissolve easily, but it also creates a smooth and creamy texture that will satisfy your sweet tooth.
- Egg Whites: Are used to achieve a smooth texture. However, some prefer meringue powder or pasteurized egg whites for safety reasons. You can still enjoy the same texture with these alternatives without any risk of consuming raw eggs.
- Meringue Powder: Meringue Powder is a mixture of pasteurized egg whites and sugar, perfect for whipping up some tasty royal icing. And the best part? You won’t have to worry about any risks of salmonella from raw eggs!
- Piping Consistency: Getting the perfect consistency is crucial in creating beautiful designs. That’s where piping consistency comes into play! It’s all about finding the proper thickness of icing that works best for outlining and adding those intricate details that make your baked creations stand out.
- Flood Consistency: When you’re decorating sugar cookies, flood consistency is your go-to for filling in large areas between outlines. It’s thinner and smoother, so it flows effortlessly on your creation. Just be careful to make it manageable, or it might spread beyond the area you want to cover.
- Sifting: Is a great way to achieve that if you want your sugar cookies to have a smooth and uniform texture! All you need to do is pass your powdered sugar through a fine mesh sieve to remove any lumps or impurities.
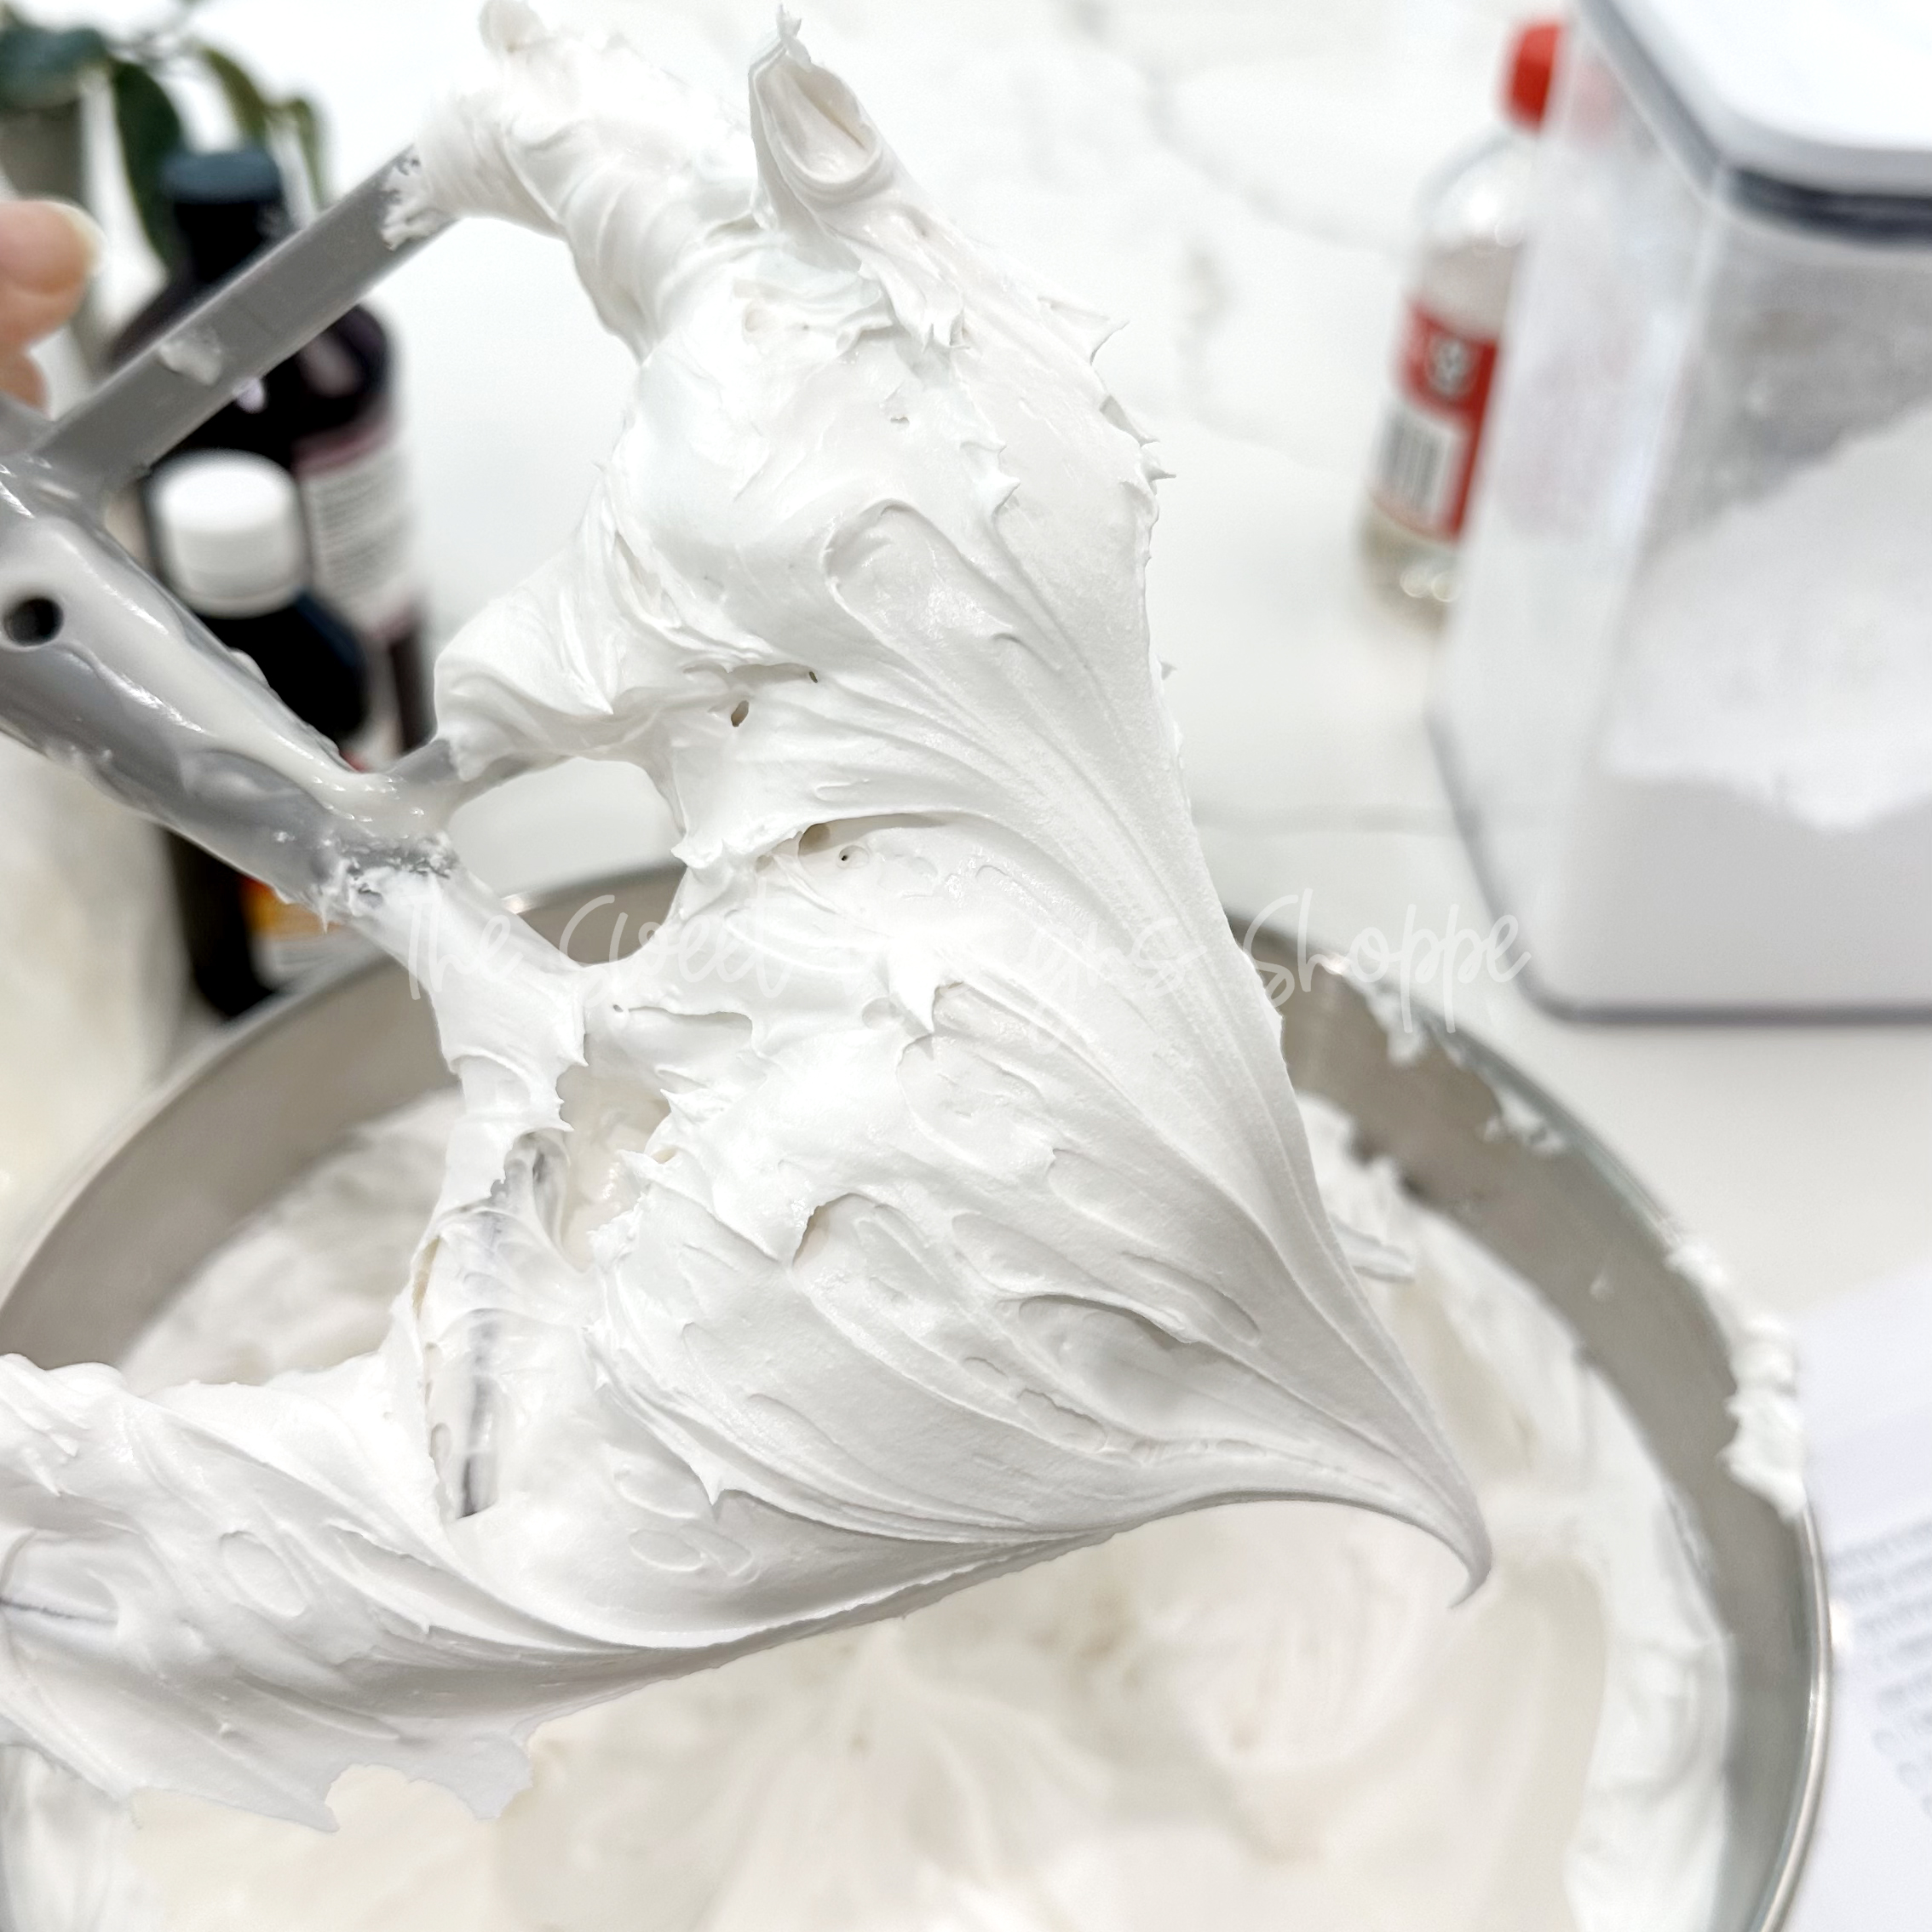
- Stiff Peaks: Be sure to beat the icing until it reaches the stage of stiff peaks. That’s a fancy way of saying that the icing should hold its shape when you lift the beaters and not droop. This is super important because it means that your icing has reached the perfect consistency for spreading and will give your finished product a beautiful texture and appearance.
- Soft Peaks: It’s a special stage in beating royal icing where the peaks formed by the beaters are soft and slightly bent over. This type of icing is perfect for creating flexible decorations that require a softer texture. Soft peaks may seem small, but they’re super important in making the perfect royal icing.
- Gel Food Coloring: Gel food coloring doesn’t mess with the icing consistency by adding too much moisture, like liquid food coloring can do. Gel colors don’t affect the texture of your icing. So, whether you’re a pro baker or love to decorate sugar cookies as a hobby, gel food coloring is a great choice to help you achieve picture-perfect results every time!
- Tipless Bags: These disposable piping bags are super convenient because they don’t require a separate tip – the bag itself is the tip. You can apply royal icing directly onto your sugar cookies without fuss or mess. With tipless bags, you’ll have more control over the flow and amount of frosting. You can toss the bags in the trash when you’re done, so there’s no need to worry about cleaning them.
Royal Icing Recipe with Meringue Powder
Description
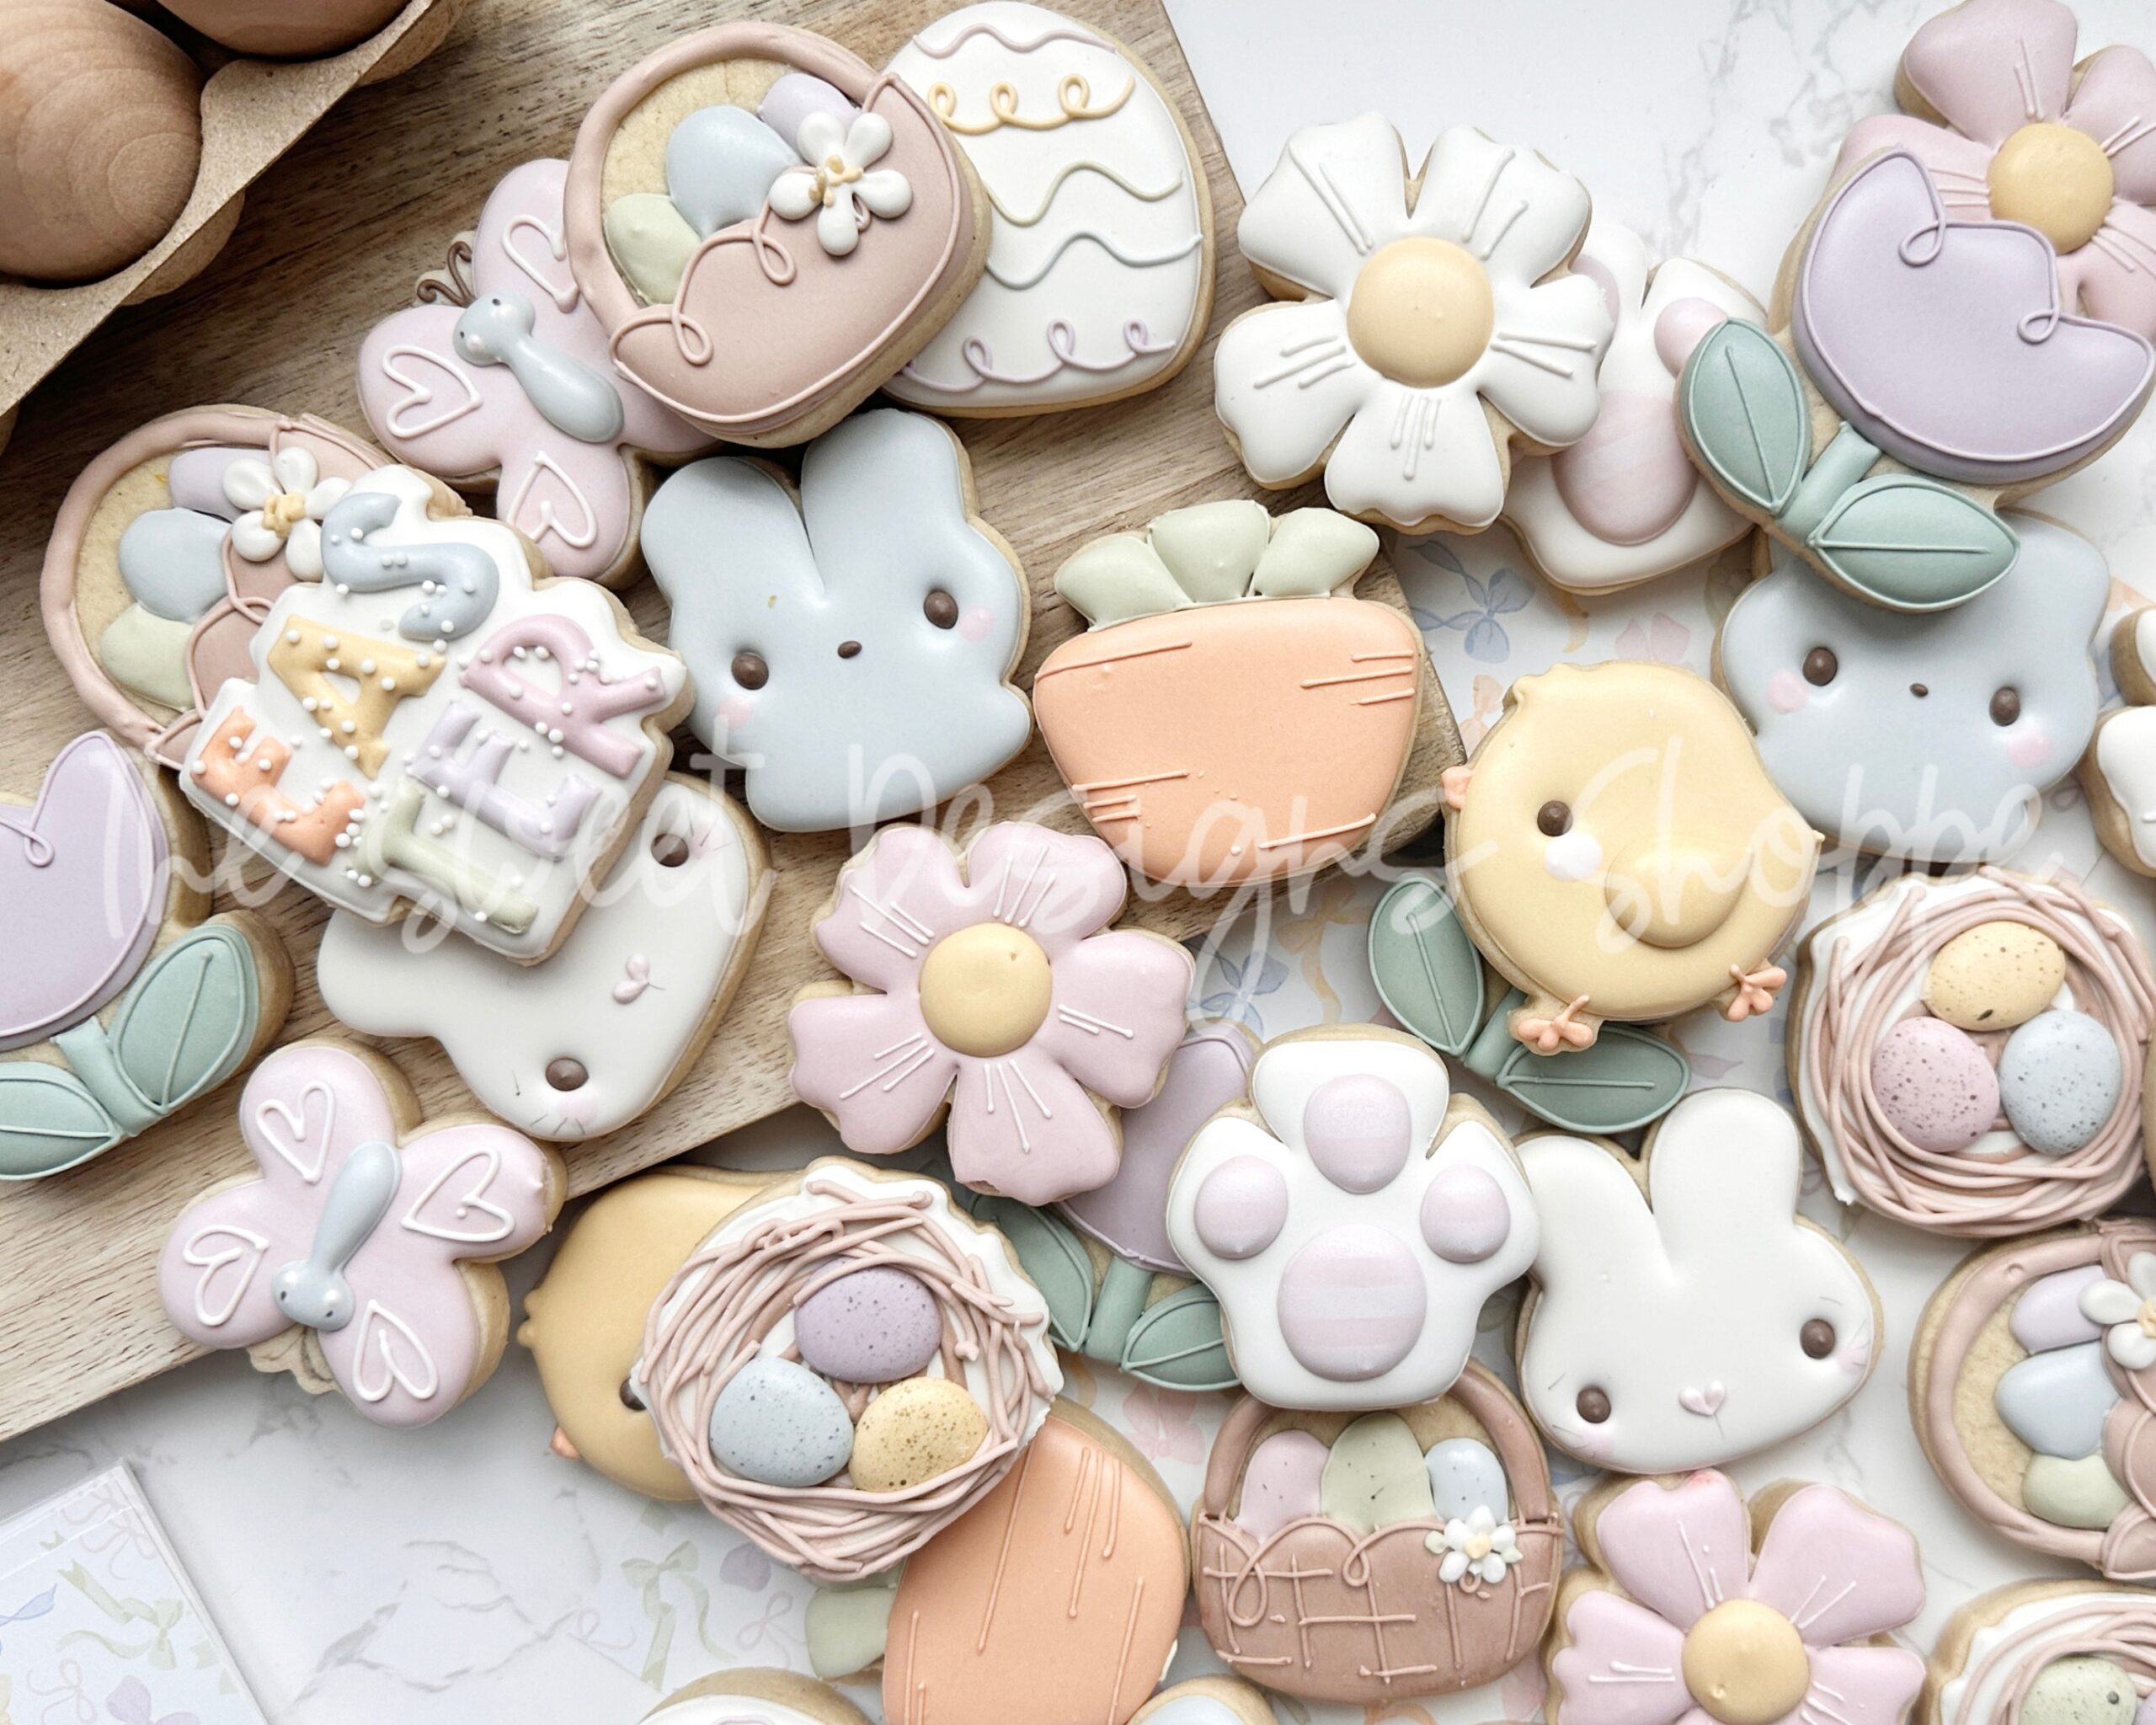
After ten years, I finally found a Royal Icing recipe that works best for me. This recipe will help you create glossy Royal Icing, perfect for decorating your roll-out sugar cookies. Let’s dive into the world of royal icing together and have fun!
Ingredients
Instructions
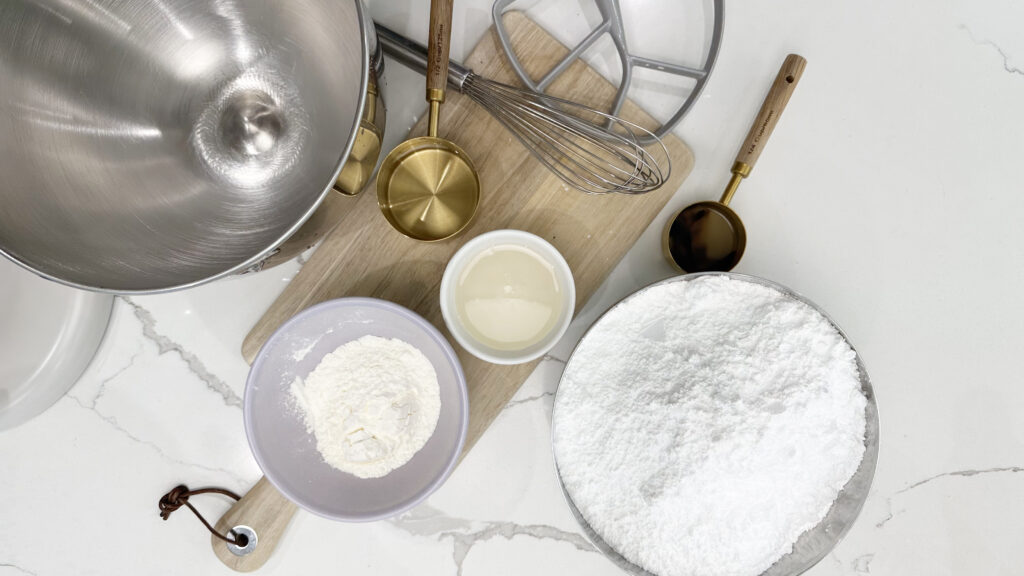
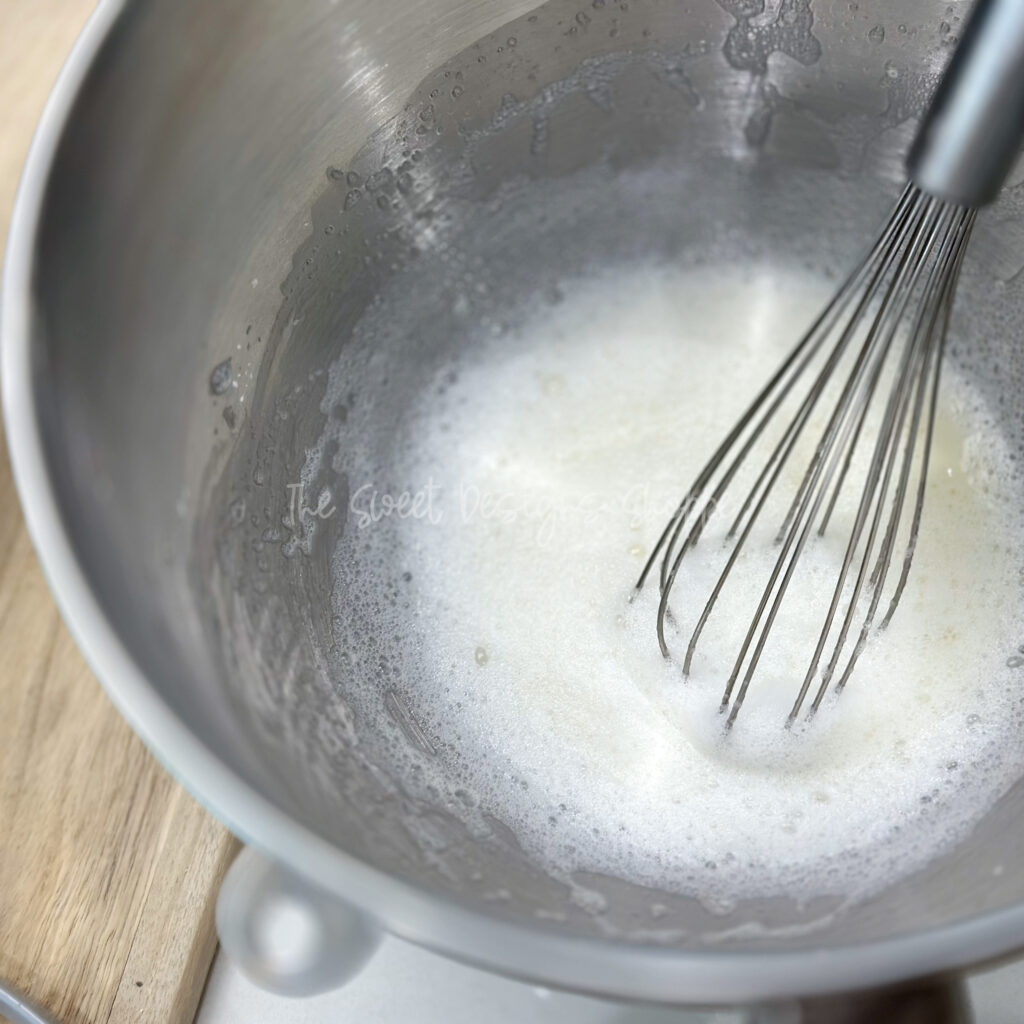
- Use your stand mixer bowl and gently whisk MP, vanilla, cream cheese emulsion, and warm water until foamy (about 1 minute). If necessary, rotate your mixing bowl. You want to ensure both ingredients are incorporated; don’t leave meringue powder on the bowl’s walls. It is essential to use warm water (NOT hot water) to help dissolve the MP particles better. Add 2 TBS of warm water if needed.
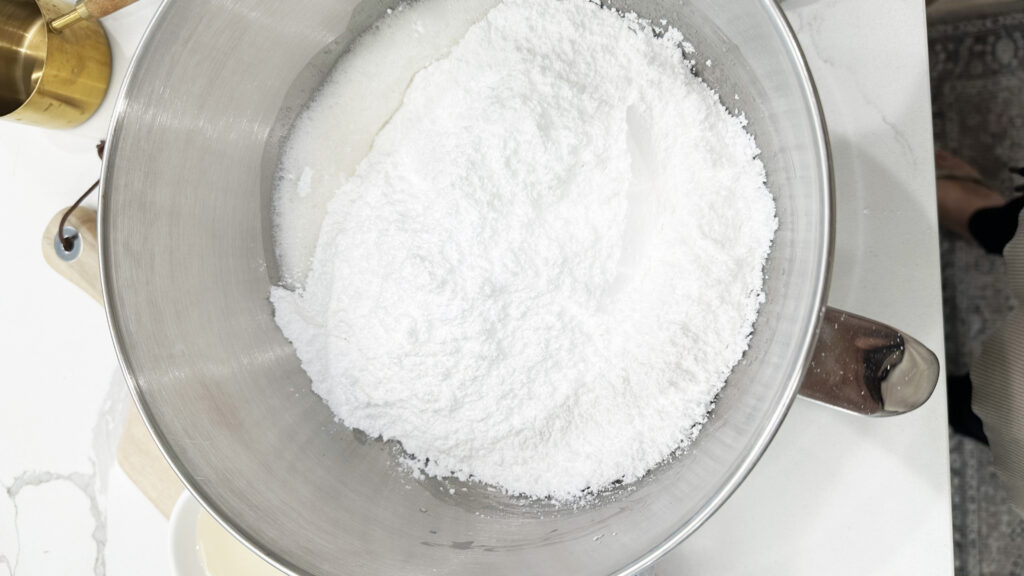
- Add powdered sugar, and using the paddle attachment, mix on low speed (level 1) to incorporate the ingredients (about 1 minute). Scrape down the sides of the bowl and mix for another minute. At this point, your icing should have a honey-like consistency.
- Add corn syrup and mix on medium speed (level 4 – 5) for 2 – 3 minutes, or until the icing has achieved soft peaks and is glossy.
- Crank your mixer speed to high and mix for 15 seconds. Your icing should form stiff peaks with a slight fold.
- Transfer the icing to an airtight container or divide it into smaller containers and cover with plastic wrap. The icing can be stored at room temperature for up to 2 days, 2 weeks in the refrigerator, and 3 months in the freezer. (Don’t quote me on this one)
Notes
- **White food coloring (optional). I only use white food color when working with a muted color palette or pastels.
- **This is the consistency I like to start with. The consistency can be adjusted by adding more water to make it thinner. Because this recipe has corn syrup, it doesn’t form super stiff peaks. If you’re using this icing for florals, consider adding 1 or 2 more cups of powdered sugar before step 4 or eliminating most of the corn syrup.
- ***Remember that you can change the cream cheese emulsion for any emulsion of your liking. I recommend lemon or almond because those are the ones I have used in the past, and my family loves them, but any emulsion works.
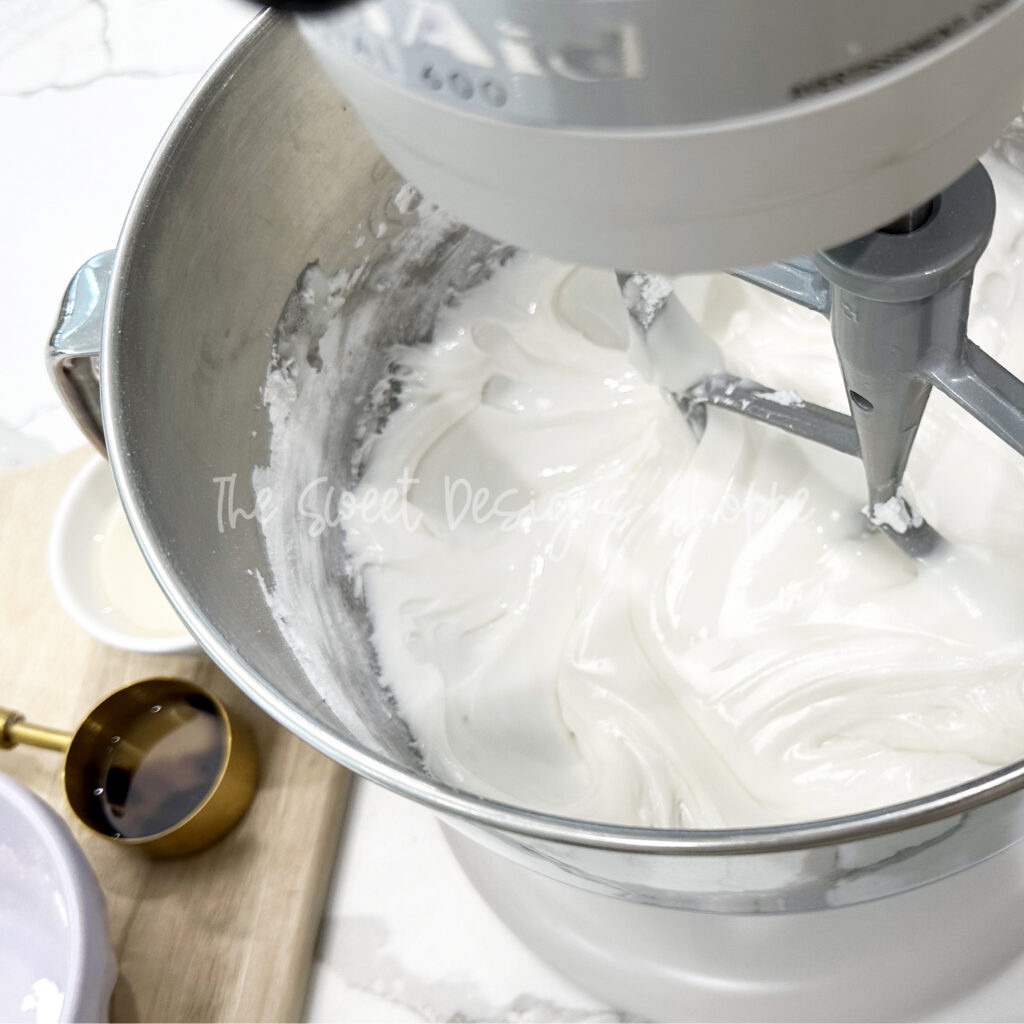
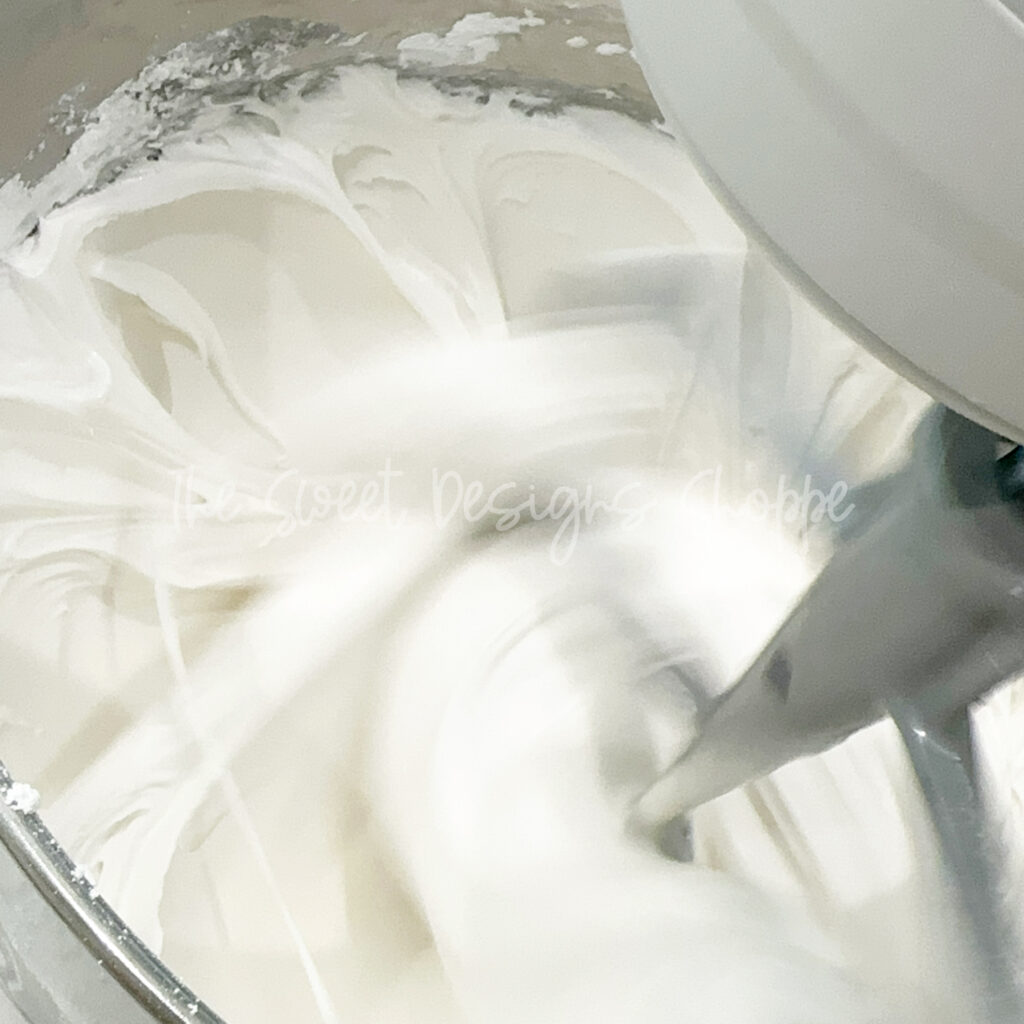
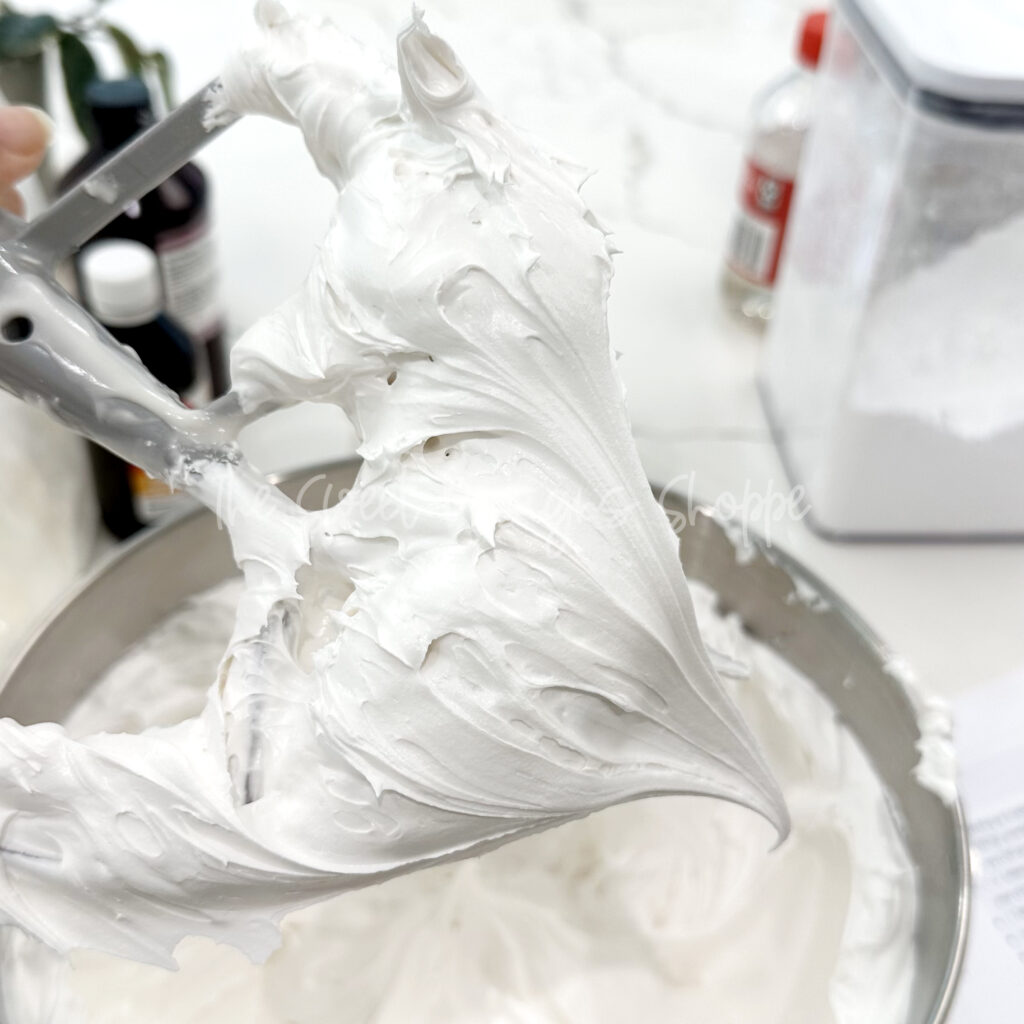
This recipe can be use with all my sugar cookie recipes.
For more information on how much icing to use to flood a cookie, click here.
One of the questions I get the most is about the recipe for my Royal Icing. I’m so excited to finally share my recipe with you! From a tiny intro to Royal Icing to the step-by-step I take to create my perfect Royal Icing.
Leave a Reply Cancel reply
let's be insta friends!
life style
color palettes
get inspired
packaging
royal icing
home
recipes
© the sweet designs shoppe | Designed by: Ale Merino Branding Co.




Gorgeous!!!
Thanks!!
I thought I read somewhere that you use YL essential oils. Do you use them in your RI? Currently, I use vanilla and vanilla/butter emulsion and I find my RI still taste like powdered sugar.
Yes, I used YL essential oils. I would recomend trying with some emulsions first. In my experience the vanilla and emulsion are the perfect combination for the icing.
I’m trying your recipe today. I’ll let you know how I do!! Thank you for this blog. It helps in every way possible.
I’m excited for you to try it out! Let me know how it goes!!
Is this the recipe that looks and feels like porcelain? I’m really excited to try it if it is. Thank you for sharing.
Yes, this is the one I use every time! Let me know how it goes when you try it Janie!!
Royal Icing Switch Alert!!!!!!
Judit, this recipe is the absolute best one that I have ever used. It flowed beautifully, felt so silky and smooth. I felt like such a professional Cookier. I’m hooked, switching forever and I highly recommend to others that need a change that works! You are so amazing and I appreciate all that you do.
I’m soooo glad you like the recipe and that it worked awesome for you!!! It changed my life as well!
Thank you!! I’m going to try this recipe this week. Thanks for sharing it 🫶🏼
Yay, let me know how it goes!!
For the corn syrup the recipe says 60G/2OZ/1/4C however my 1/4C came to 120G. Which do you use?
I use 1/4 cup ☺️
Hola Judith, el conr syrup solo se puede agregar en los primeros pasos, una vez que ya el royalicing esté listo, ya no se puede agregar y volver a batir, verdad?
Saludos
Maria
Si se lo puedes agregar después☺️
What is the purpose of the corn syrup? I don’t currently use it in my RI recipe, but maybe I should try! Thanks so much for sharing, Judit!
It helps RI to be a little bit more softer to the bite, and to make it shiner☺️
Hi Judit!! Thank you for all the resources!! Is there a formula or method to mixing the colors in the amounts needed? Or is it just a visual best guess on what you need…white vs red vs black etc?
Wight your cookie before decorating it, then wight it once you have decorated it. This way you know exactly how much icing to use for each cookie, and the amount of icing you need for each color
Hello. I think I read you use a piping consistency and a flood, i may have missed how you did that. Do you just add a bit more water for the flood? I’m fairly new to this.
Hi! Yes, I do use two consistencies. Yes, add water to make the flood consistency, but add a few drops of water at a time until you achieve the consistency you want for flooding
What is your favorite emulsion to use for the icing? Cream cheese?
Yes, I use cream cheese emulsion for my icing
What is the purpose of the emulsion?
To add flavor to the icing. Can be replace with any other flavor
Judit I just want to make sure just the half tablespoon of water? Seems like so little liquid. I usually use like a bit more.
It’s 1/2 cup. I don’t know what happened, but it’s fixed!
Can I just use almond extract to flavor it or must it be an emulsion?
Yes, you can use extract as well
Perfect piece of work you have done, this website is really cool with fantastic info
Thank you for providing your RI recipe, but I have a question.
In the list of ingredients, it states cream cheese LorAnn emulsion but in the instructions, #1-whisk MP, vanilla, cheesecake emulsion,
Could you clarify which one
thanks so much
Thank you for pointing that out! We jus fixed the problem, it’s cream cheese emulsion
Thank you for sharing. Is it possible to make half a recipe?
Yes, just adjust everything by half☺️
Judit,
Omg, this will be my Go to! This came of beautiful, shiny and puffy! It is fabulous…
Thank you for sharing – I really appreciate it
Hi Anysia! I’m so glad it works for you the same way it works for me, yayyyyy!!
Hi! Your icing looks amazing and I’m gonna try it. Do you use two different consistencies? Meaning one for outlining and one for flooding? My issue with that is by the time I outline and switch to flood the outline dries? Any suggestions?
Hi Laura. I do use two different consistencies, I outline the cookie and flood it as soon as you finish outlining the cookie
Thank you for sharing. I’ve been searching for a royal icing that has a better taste than my current version. I will try this for my valentine cookies this year.
To clarify, you ad vanilla PLUS another emulsion or flavoring of choice? Seems like conflicting flavors.
Thanks again!
Yes, I add one emulsion and one extract
Hi! I love your recipe and how soft it is but I am having issues with it sticking to the bag. I let them dry at least12 hrs before bagging and my colors are not over saturated especially since I have had it happen on a white cookie. I follow your steps exactly, so I was wondering if maybe it was the cello bags I use? Thanks so much in advance.
Hi! This happens to me when the icing isn’t completely dry; sometimes, it takes longer because of the humidity. Try adding cornstarch to the cookie with a brush before bagging them
Hello! I am excited to try your recipe. I have two questions:
1: How much RI does this yield?
2: When adding the cornstarch, does the icing still get hard enough to individually package and stack, or will it be too soft?
Thanks!
Hi! Depends on how many cookies you make, but it should last for at least 4 dozen 4″ cookies. Icing still gets hard