





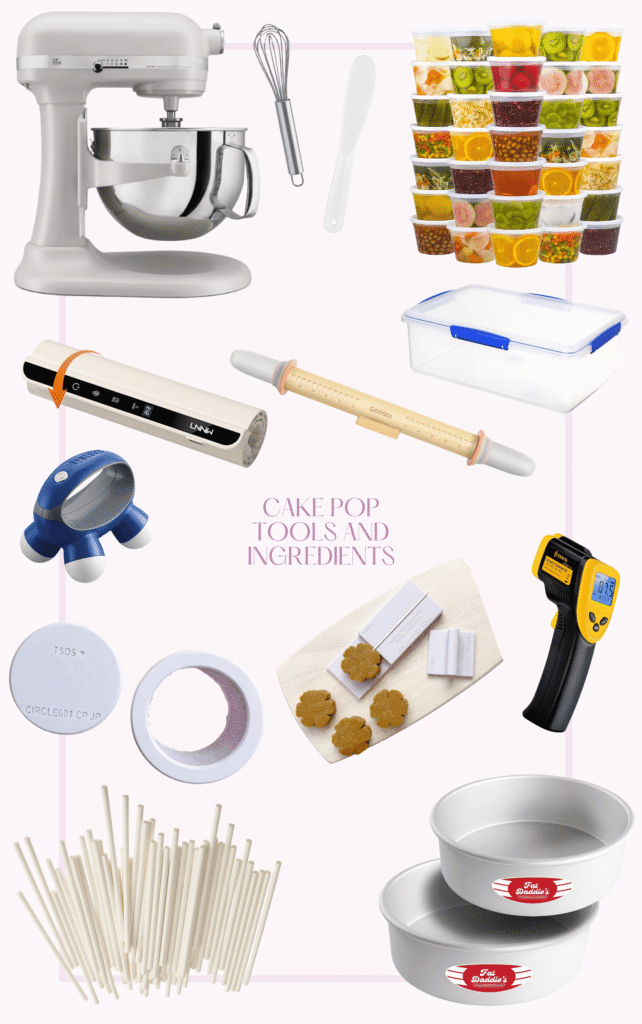
Equipment needed:
- Whisk
- Mixing bowl
- Fat Daddio’s cake pan (12″x3″ round or 9″x13″ rectangular)
- Stand mixer with paddle attachment
- Airtight container or Saran Wrap (for cooling dough)
- Rolling pin (with 5/8-inch guides)
- Round cake pop maker — bite-pop size
- Stick Jig Tool (optional, for centered placement)
- Spatula
- Microwavable bowl (for chocolate)
- Laser thermometer
- Cake pop sticks
- Hand massager (for quick-drip technique)
- Food warming mat (to maintain coating temperature while dipping)
- Flat Surface/Baking Sheet
- Tipless Piping Bags

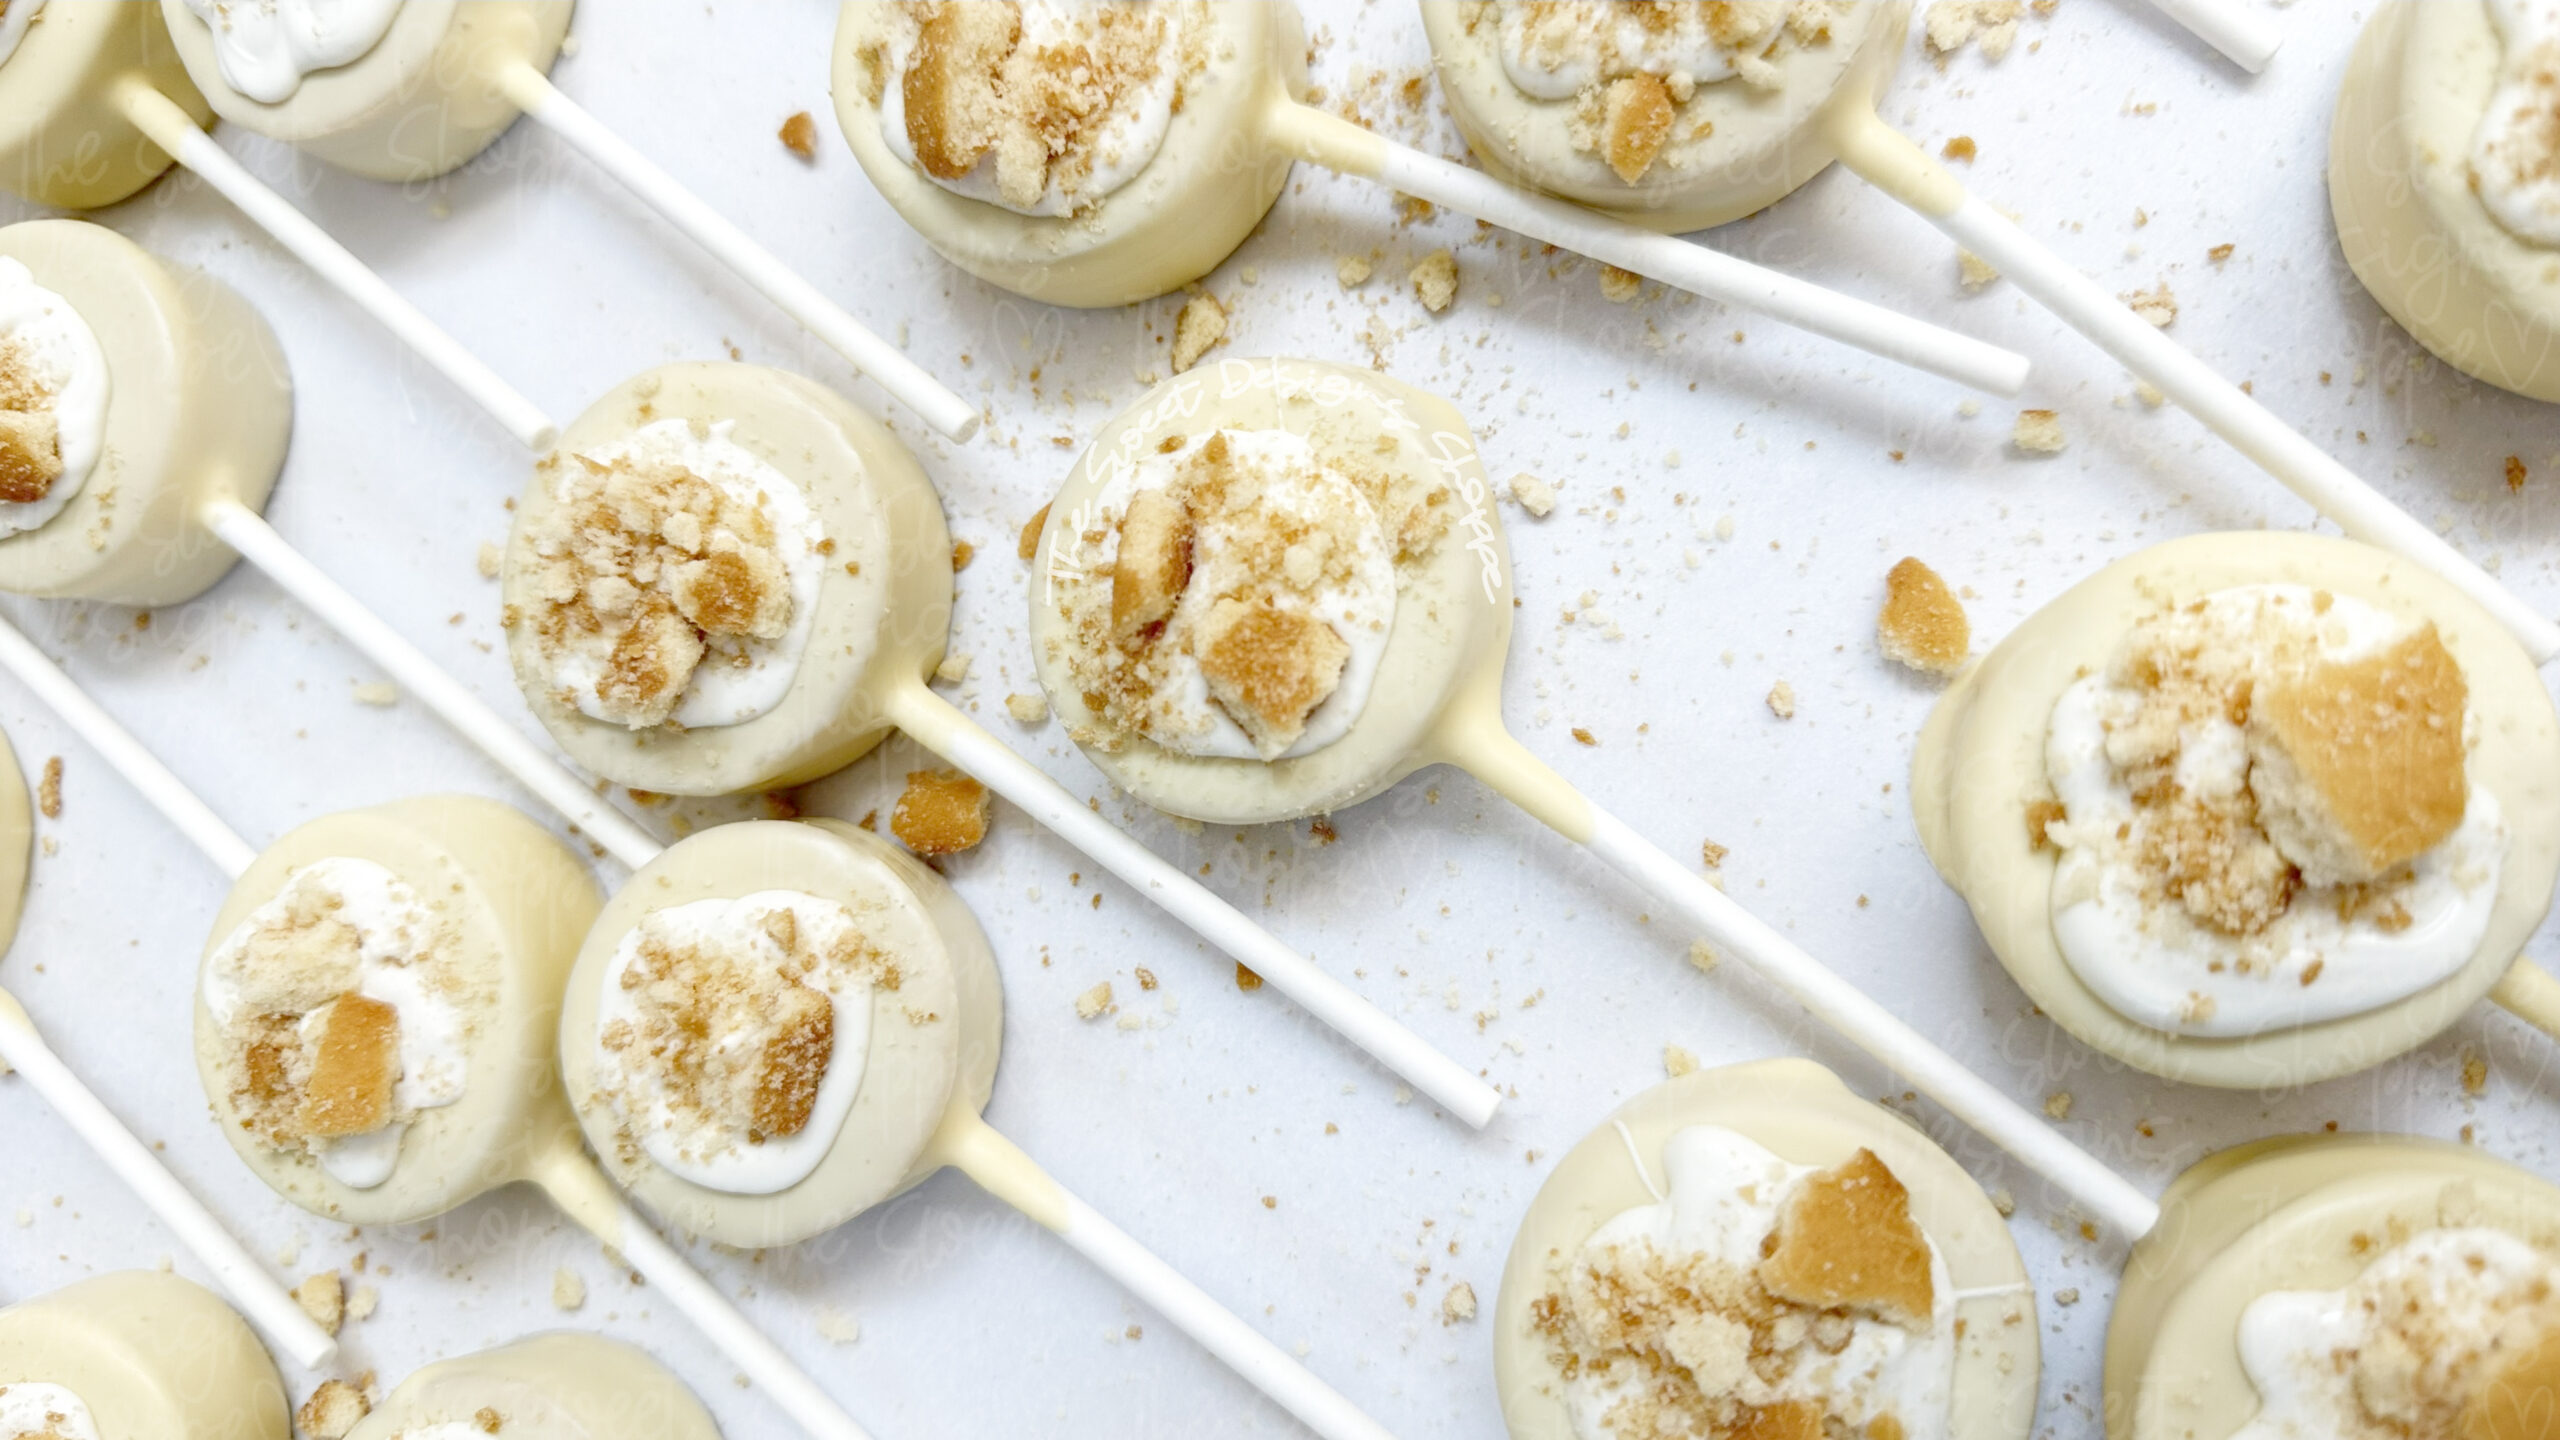
Cake Pop – Classic Pumpkin Spice
Description
Yield: Approximately 23–28 cake pops rolled to 5/8″ and cut using acorn, leaf, & pumpkin cake pop makers
Ingredients – Cake Dough Base
Pumpkin & Spice Additions:
Ingredients – Dipping & Decoration
Bake & Rest
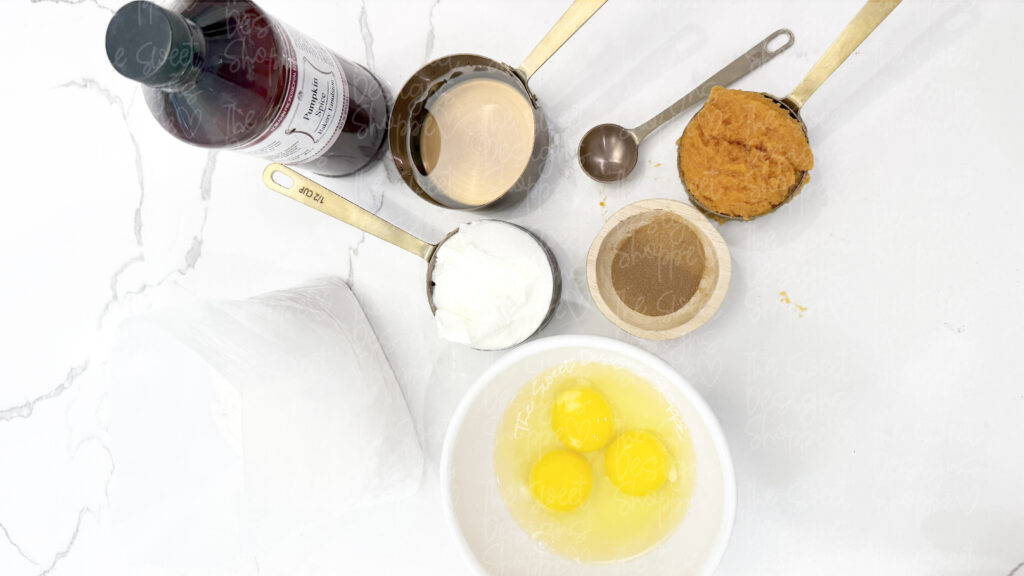
- Prepare the cake batter by combining the 14.25 oz Betty Crocker White Cake Mix, adjusted water (minus 2 tbsp), eggs, sour cream, vegetable oil, ⅓ cup pumpkin puree, 1 tsp LorAnn Pumpkin Spice Emulsion, and 1 tsp ground cinnamon.
- Pour the batter into your cake pan and spread evenly.
- Bake according to package directions for your specific pan size.
- Resting: Upon removing the cake from the oven, let it rest in the pan for 10 to 15 minutes to allow excess steam to escape. Then cover the cake tightly with aluminum foil and let it rest for 1 to 2 hours, until it has cooled completely to room temperature.
- Once the cake has cooled completely to room temperature, break it into pieces and place them into the bowl of a stand mixer fitted with the paddle attachment.
- Mix on low speed for 2 to 5 minutes until the dough fully comes together into a smooth, pliable Play-Doh-like consistency. Stop as soon as the dough binds to avoid a rubbery texture.
- Remove the bowl from the mixer and gently fold in the ½ cup of crushed graham cracker pieces by hand so they are evenly distributed without breaking down completely.
- Knead the dough gently for a few moments to ensure even consistency.
- Roll the dough flat using 5/8-inch guides to ensure consistent thickness throughout.
- Cut out individual portions using your cutter.
- Melt equal parts (33% each) of Stover & Company Cream Cheese Melts, Pumpkin Spice Melts, and Deluxe Melts together.
- Place the bowl of melted coating directly onto your food warming mat set to hold the target temperature.
- Check the coating temperature with a laser thermometer to ensure it stays steadily within 92°F–98°F.
- Dip the tip of a treat stick into the melted coating, then insert it into the rolled-out cake cutout (almost to the top).
- Fully dip the cake pop into the coating. Apply the hand massager to your wrist for a quick-drip vibration to smoothly shed excess coating
- Lay the pops flat on a flat surface so that the toppings and drizzled lines do not slide off while setting.
- Melt additional Stover Cream Cheese Melts and fill a tipless piping bag. Snip a small tip and drizzle clean accent lines across the dipped pops.
- While the drizzle/coating is still wet, apply the white nonpareils (and optional graham cracker crumbs or pumpkin spice dust).
- Allow the coating and drizzle to set completely before packaging or serving.
I recommend using a 12″ x 3″ or 9″ x 13″ cake pan or larger.
CRITICAL: Do not overbake your cake. Remove it as soon as a toothpick inserted in the center comes out clean.
Mix the Dough & Fold Mix-Ins
Portion & Shape
I like to use the Bite Pop size round cake pop cutter from our website.
Insert Cake Pop Sticks & Dip
I use the stick jig tool for precise, centered placement.
Decorate & Set
Pro Tip
- The Fat Ratio Sweet Spot: After testing only sour cream, higher sour cream, lower sour cream, and only oil, ⅓ cup sour cream + 2 tbsp vegetable oil is the winner. Oil alone makes dough greasy and soft, while pure sour cream can get too dense. This hybrid creates a rich, pliable dough that holds its shape—no frosting needed!
- Deluxe Melts Advantage: Blending 10%–20% Deluxe Melts into your Sweet Shop Ultra White coating thins the melted chocolate naturally, achieving an effortless, ultra-smooth shell at 92°F–98°F without needing added paramount crystals or oil.
- Pumpkin Moisture Control: Reducing the box water by 2 tbsp balances the wet pumpkin puree and keeps the dough from getting sticky in the mixer.
- Graham Cracker Crunch: Fold in crushed graham crackers by hand after mixing, so the paddle attachment doesn’t crush them into dust.
Baking, Pumpkin spice, pumpkin, fall, Cake pop, CakePops, Cakepop, Cake pops
If you like to experiment with more cake-pop recipes, click here to see all my free recipes!