




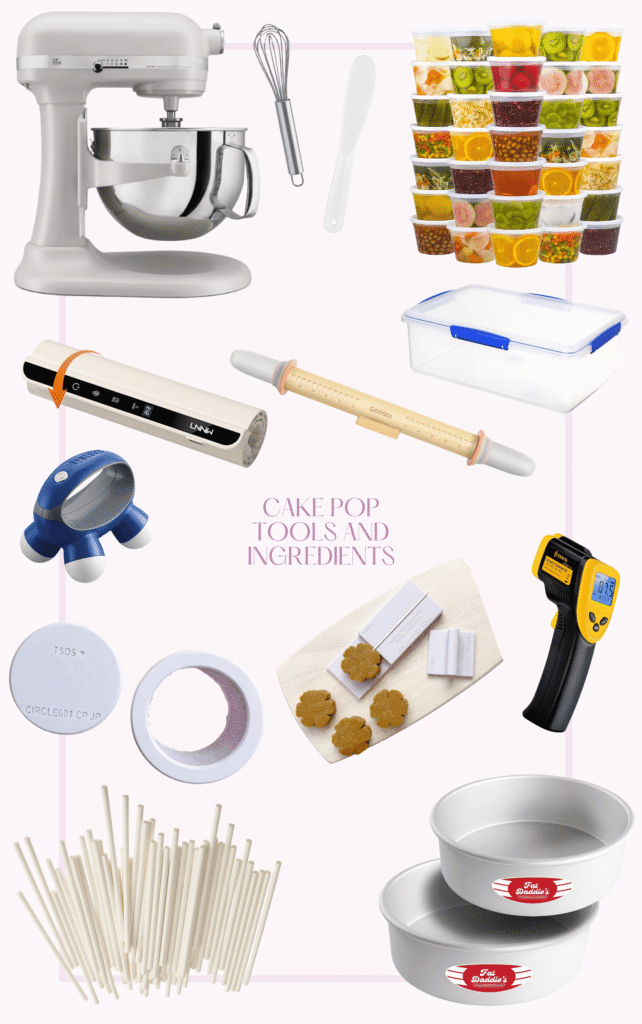
Equipment needed:
- Whisk
- Mixing bowl
- Fat Daddio’s cake pan 12″x3″ round or 9″x13″ rectangular
- Stand mixer with paddle attachment
- Airtight container or Saran Wrap (for cooling dough)
- Rolling pin (with 5/8-inch guides)
- Round cake pop maker — bite-pop size
- Stick Jig Tool (optional, for centered placement)
- Spatula
- Microwavable bowl (for chocolate)
- Laser thermometer
- Cake pop sticks
- Hand massager (for quick-drip technique)
- Food warming mat (to maintain coating temperature while dipping)
- Flat Surface/Baking Sheet
- Tipless Piping Bags

Cake Pop – Cookie Butter
Description
Yield: Approximately 23–28 cake pops rolled to 5/8″ and using a bite-size cutter
Ingredients – Cake Dough Base
Ingredients – Dipping & Decoration
Bake & Rest
- Preheat your oven according to the box directions.
- Prepare the cake batter by combining the Betty Crocker White Cake Mix, water, eggs, sour cream, and vegetable oil according to package directions, and Butter Vanilla Emulsion.
- Bake according to box instructions.
- Rest: After removing the cake from the oven, let it rest for 10 to 15 minutes to release excess steam, then cover it with aluminum foil and let it rest for 1 to 2 hours, or until it comes to room temperature.
- Once the cake has cooled completely to room temperature, break it into pieces and place them into a stand mixer fitted with the paddle attachment.
- Add the 2 oz of Biscoff Cookie Butter into the mixer with the cake pieces.
- Mix on low. The cookie butter will incorporate as the cake breaks down. If after 5 minutes the dough has not come together to a pliable Play-Doh consistency, you can knead it by hand.
- Gently fold in the 1½ cups of crushed Biscoff cookies by hand until evenly distributed throughout the dough.
- Knead the dough for a few minutes by hand to give it the final consistency it requires.
- Roll the dough flat using 5/8-inch guides to ensure consistent depth.
- Cut out individual portions using your cutter.
- Melt the Stover Sweet Shop Ultra White Melts, Deluxe Melts, and 1.5 oz Biscoff Cookie Butter together, stirring until completely smooth and uniformly tinted.
- Place the bowl of melted coating directly onto your food warming mat set to hold at the target temperature.
- Check the coating with a laser thermometer to confirm it stays steadily within 92°F–98°F.
- Dip the tip of a treat stick into the melted coating, then insert it into the rolled-out cake cutout (almost to the top).
- Fully dip the cake pop into the coating. Apply the hand massager to your wrist for a quick-drip vibration to smoothly shed excess coating.
- Lay the pops flat on a flat surface so that toppings and drizzled lines do not slide off while setting.
- Fill a tipless piping bag with a portion of the melted cookie butter coating blend. Snip a small tip and drizzle clean accent lines across the dipped pops.
- While the drizzle/coating is still wet, press the chunky Biscoff cookie pieces onto the top so they adhere securely.
- Allow the coating and drizzle to set completely before packaging or serving.
CRITICAL: Do not overbake your cake. A larger surface area bakes faster—remove it as soon as a toothpick inserted in the center comes out clean.
Mix the Dough
Portion & Shape
I like to use the Bite Pop size round cake pop cutter from our website.
Insert Cake Pop Sticks & Dip
I use the stick jig tool for precise, centered placement.
Decorate & Set
Pro Tip: Why Sour Cream & Deluxe Melts?
- Post-Bake Cookie Butter Addition: Adding 2 oz of cookie butter directly into the stand mixer helps bind the cooled cake crumbs while infusing deep flavor into the dough.
- 100% Naturally Dye-Free: Biscoff cookies and cookie butter derive their warm caramel tone from caramelized sugar and brown sugar. Mixing cookie butter into Ultra White melts produces a beautiful, natural tan coating without artificial dyes.
- Deluxe Melts Performance: Cookie butter adds natural oils to the coating, which helps keep it soft. Combining 15%–20% Deluxe Melts keeps the viscosity fluid and easy to dip at 92°F–98°F.
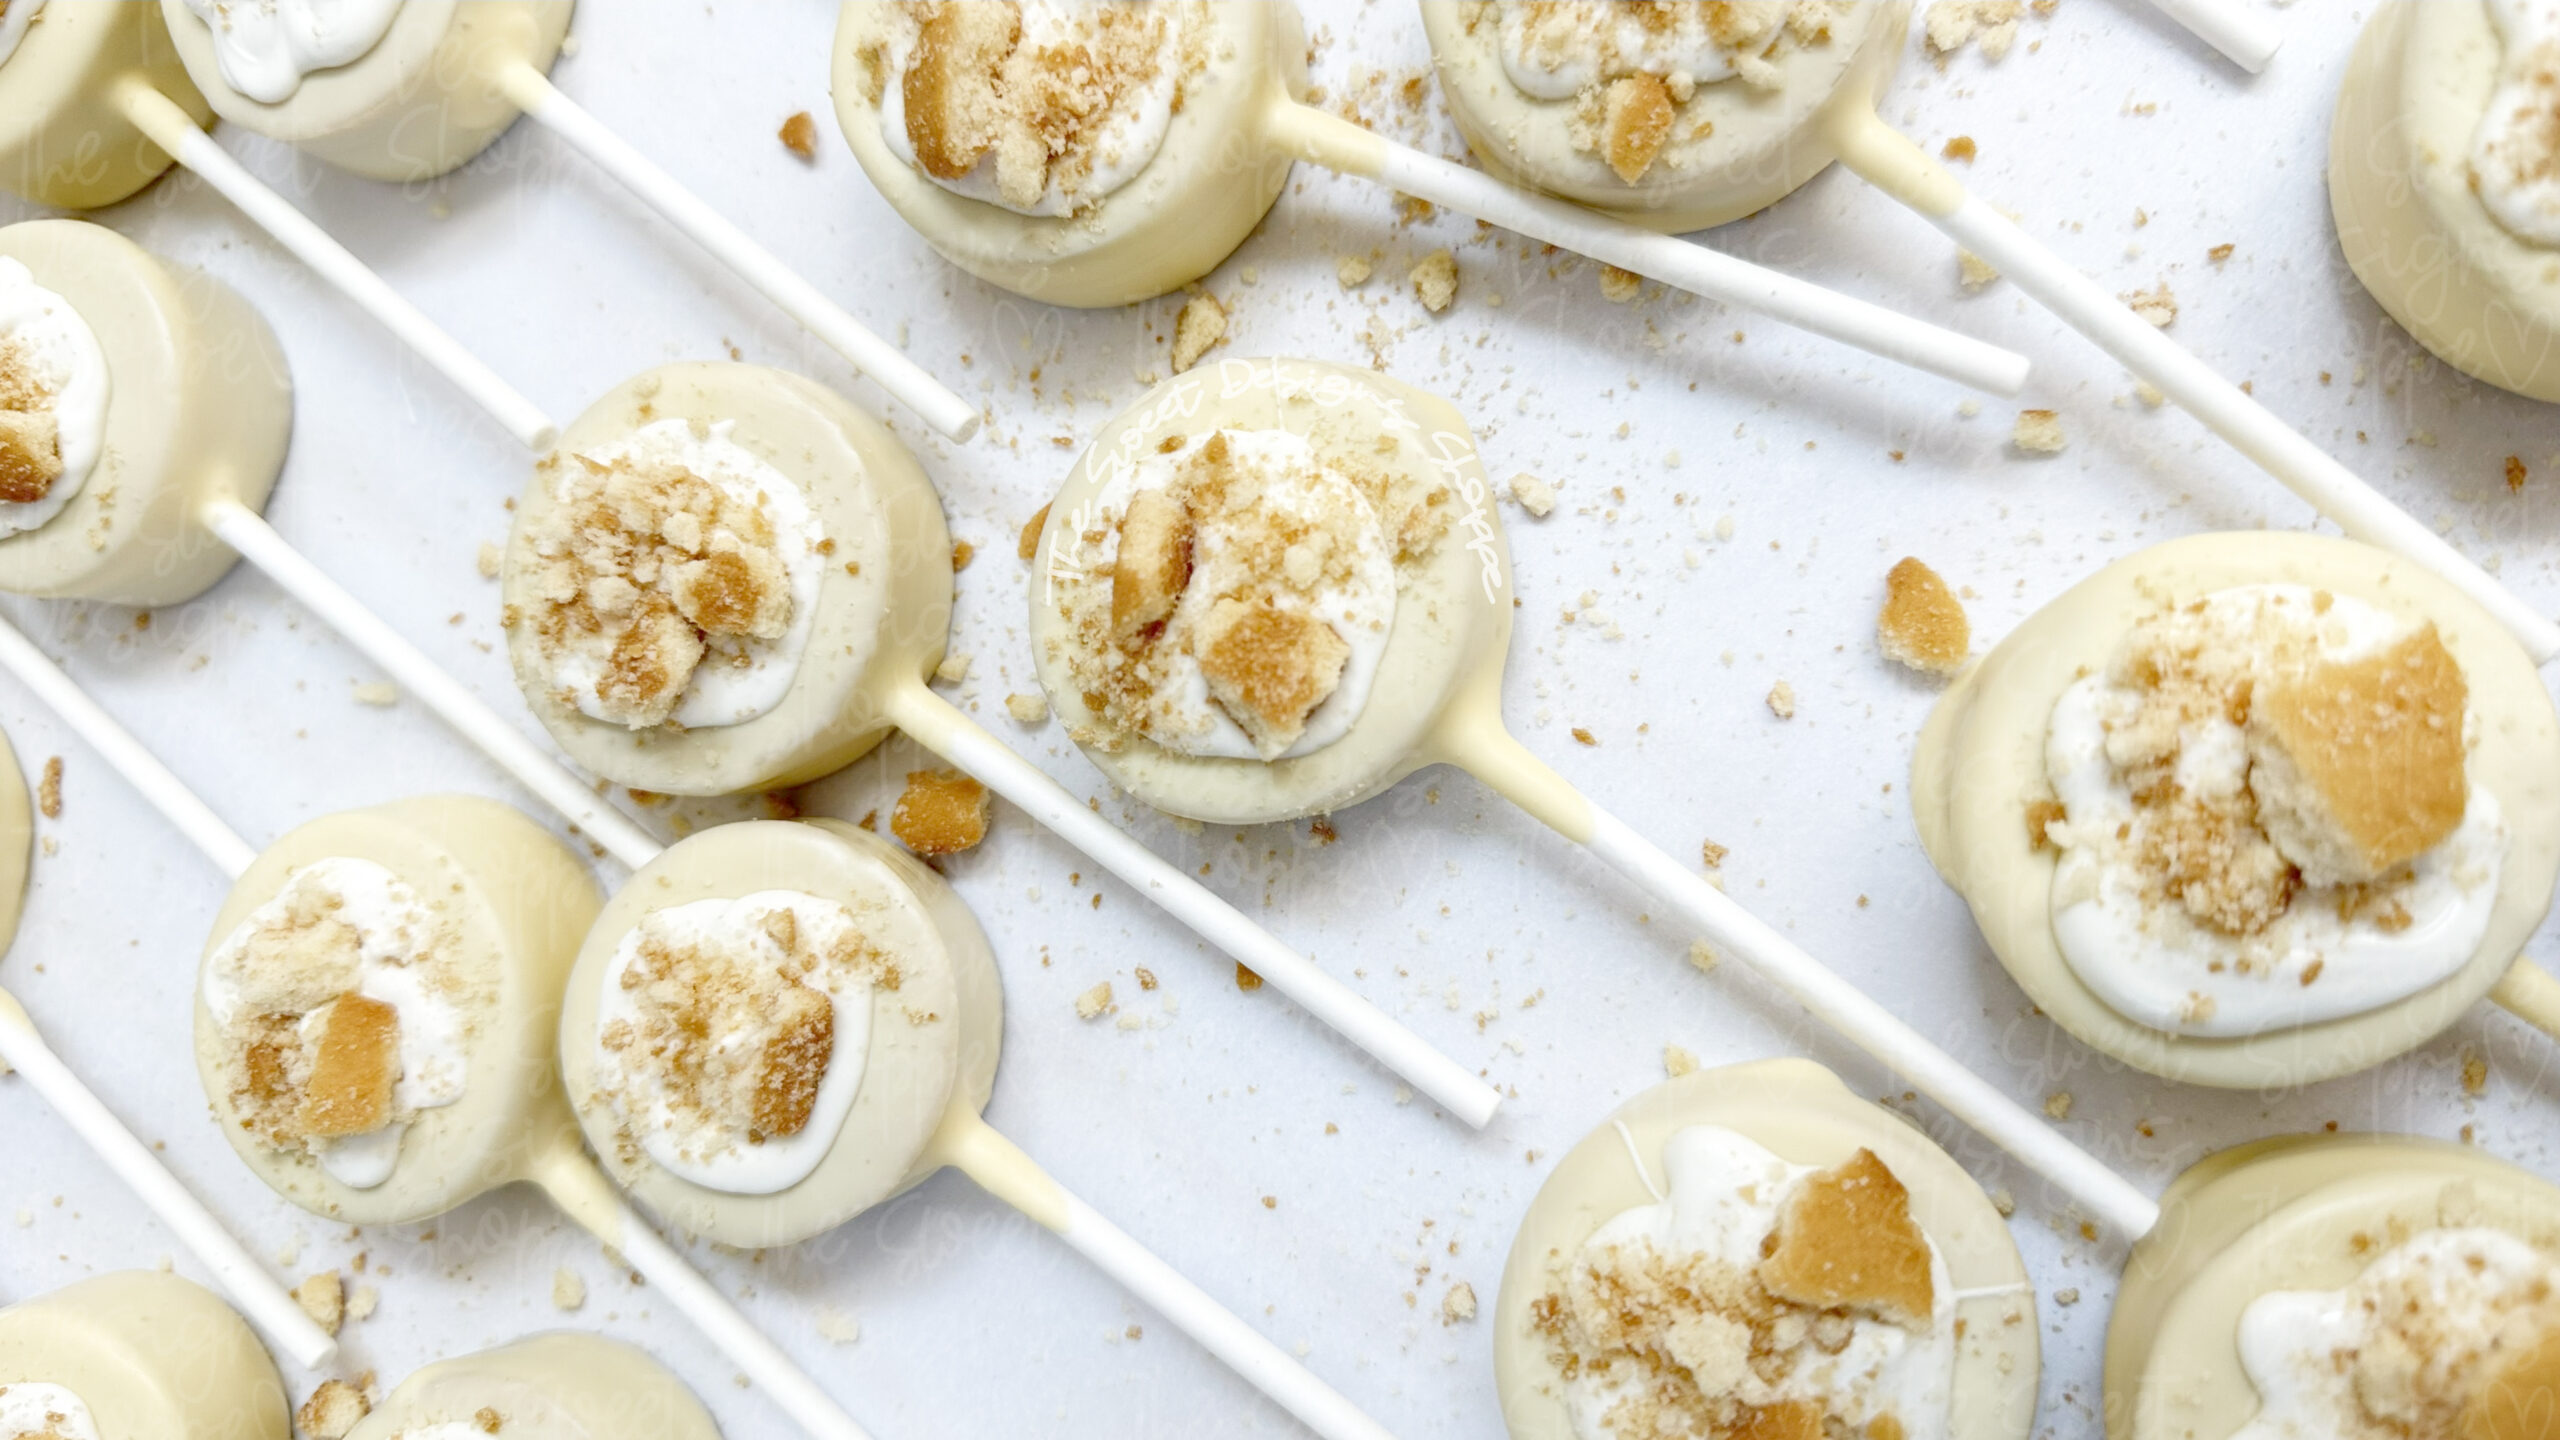
Baking, Cake Pops, Cake pop, Cakepop, Cakepops, Banana, Banana Cream, Nila Wafers, Nila, Pudding mix
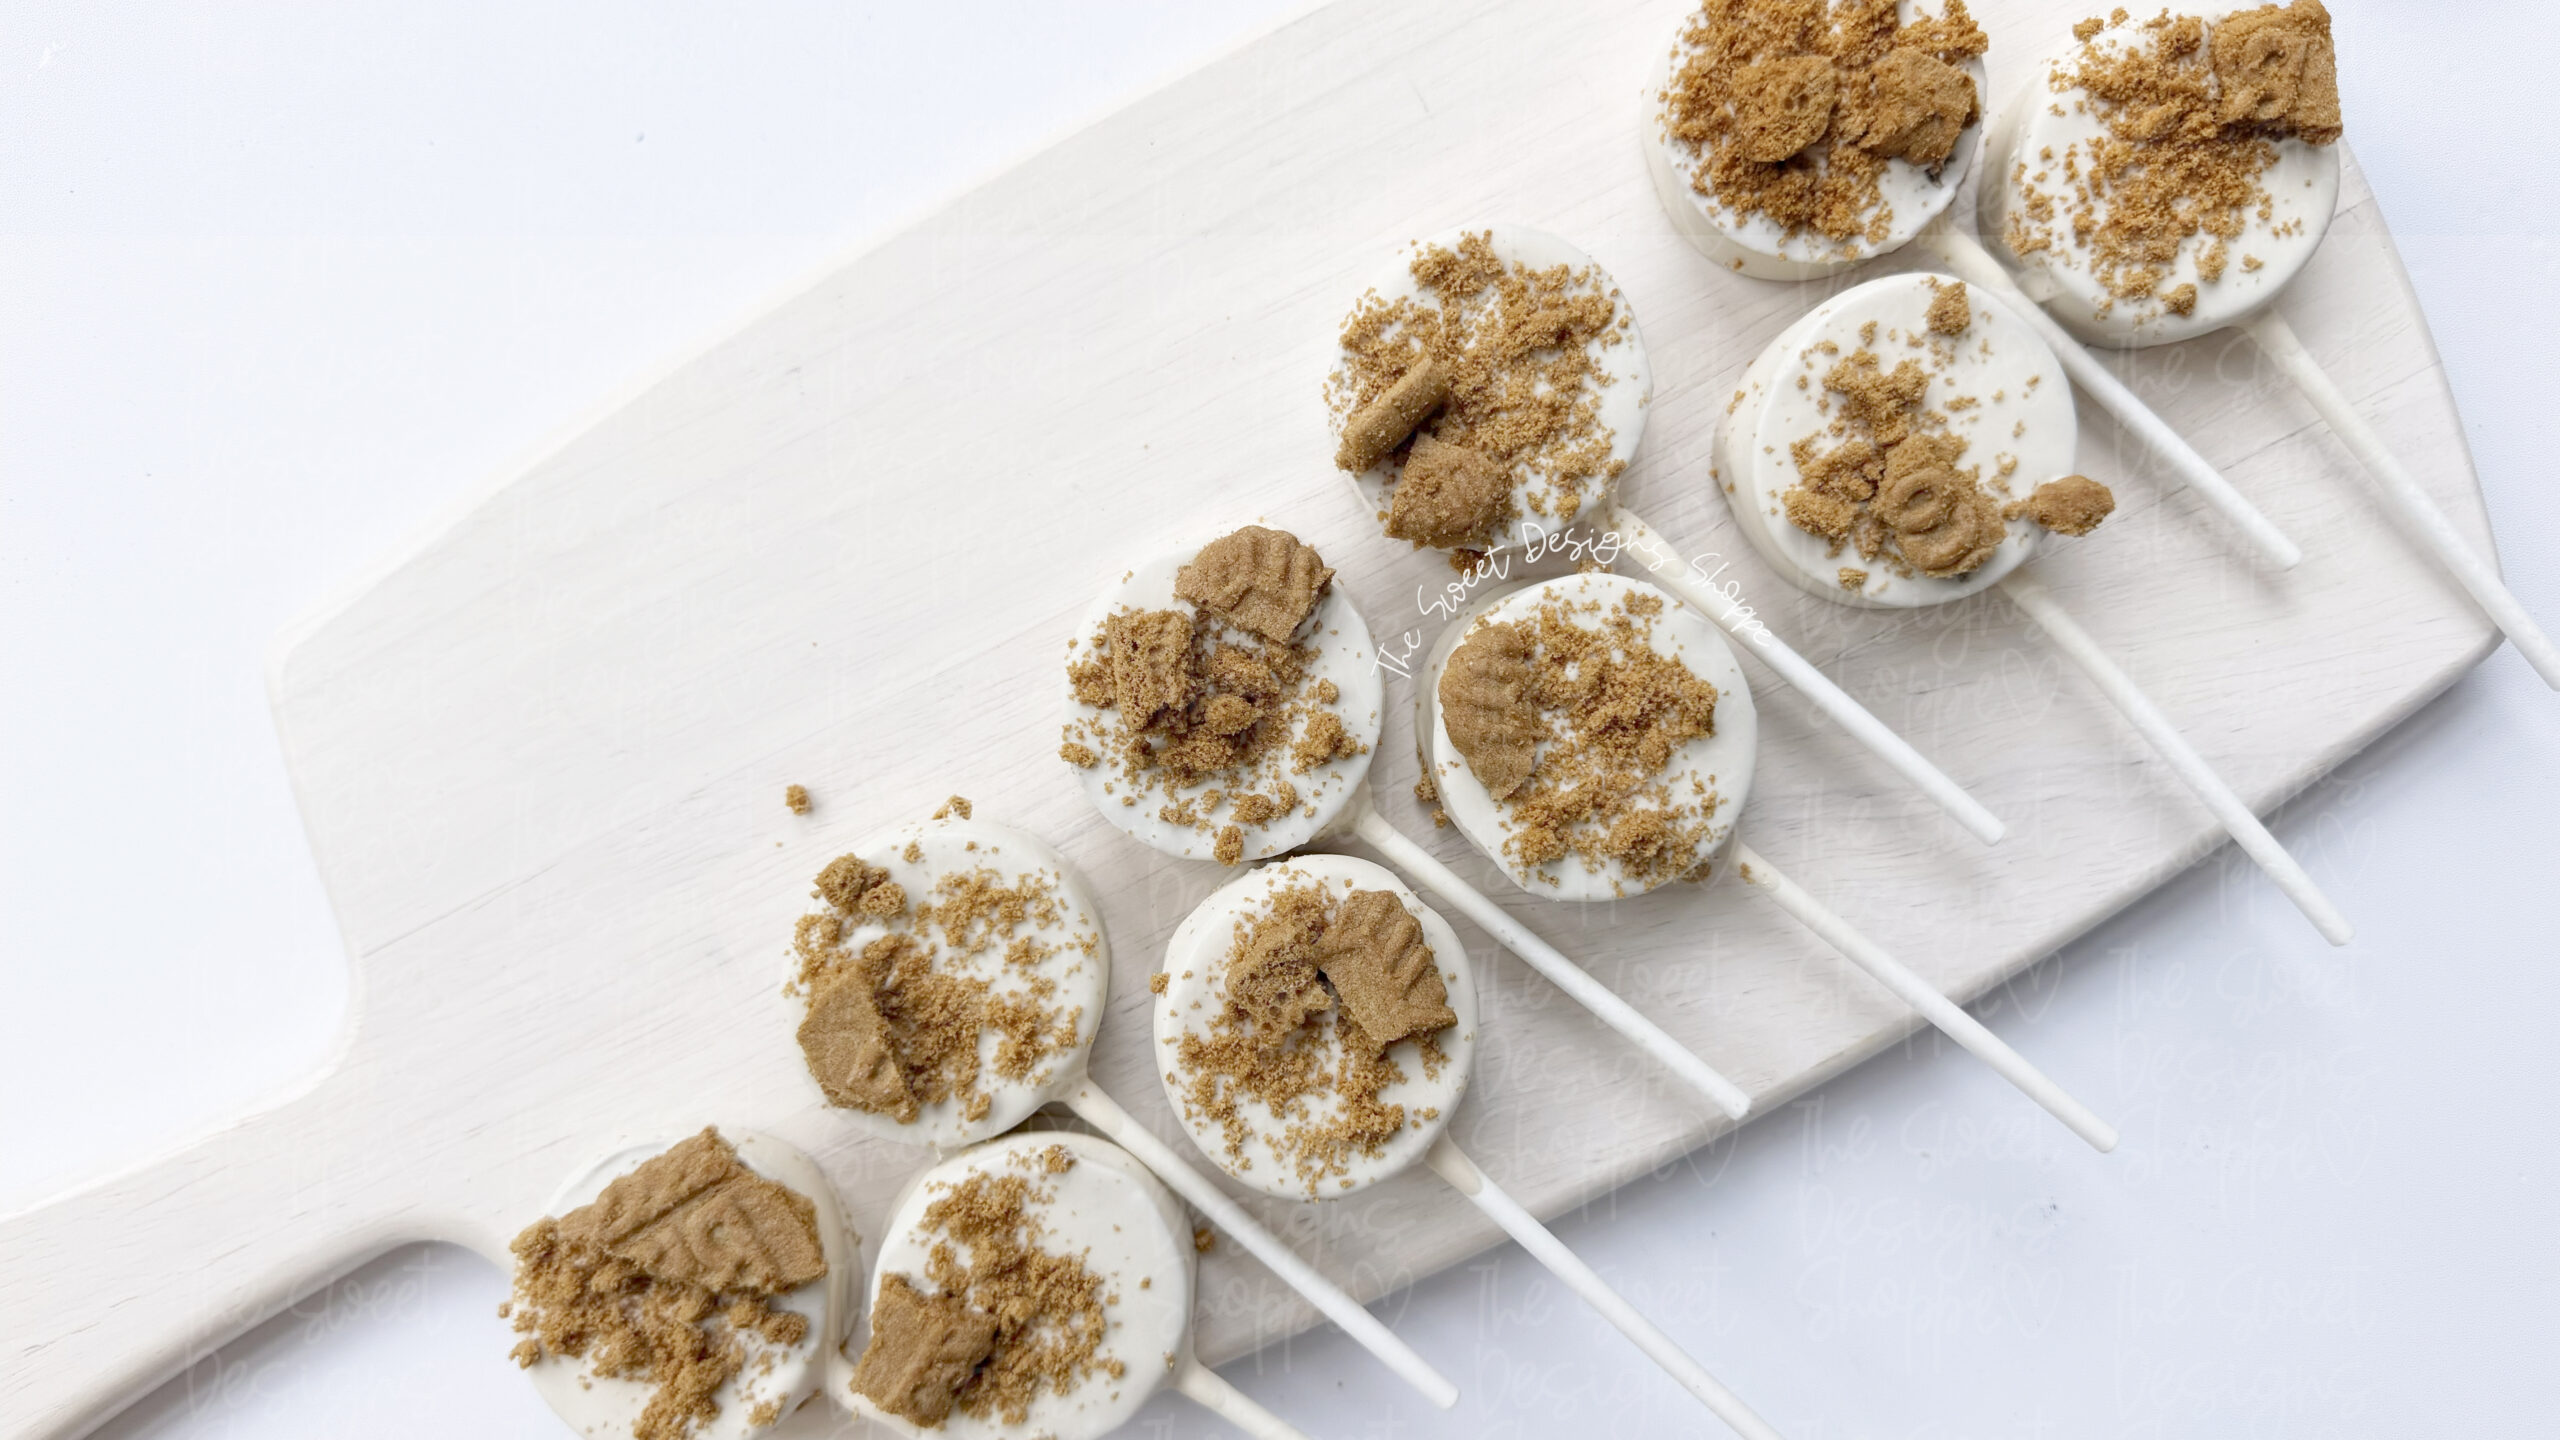
Feel free to use any of our amazing cake-pop makers!
If you like to experiment with more cake-pop recipes, click here to see all my free recipes!